This is my experience of repairing the LED Backlight on this monitor.
I thought I would take some of the users on this forum for the ride.
To Start off with, I will explain why I’m doing this.
1) Can’t Live without a second screen
2) Can’t be bothered buying another monitor.
3) Why throw something away, when you can fix.
I think the backlight was die due to bad solder jolts ( dry Joints ) or something like that.
Due to small sections would fail and then some would come back to life.
Please Note I suck at soldering. <- This is a requirement, if you good at soldering you will most like get better results.
To Lets get started
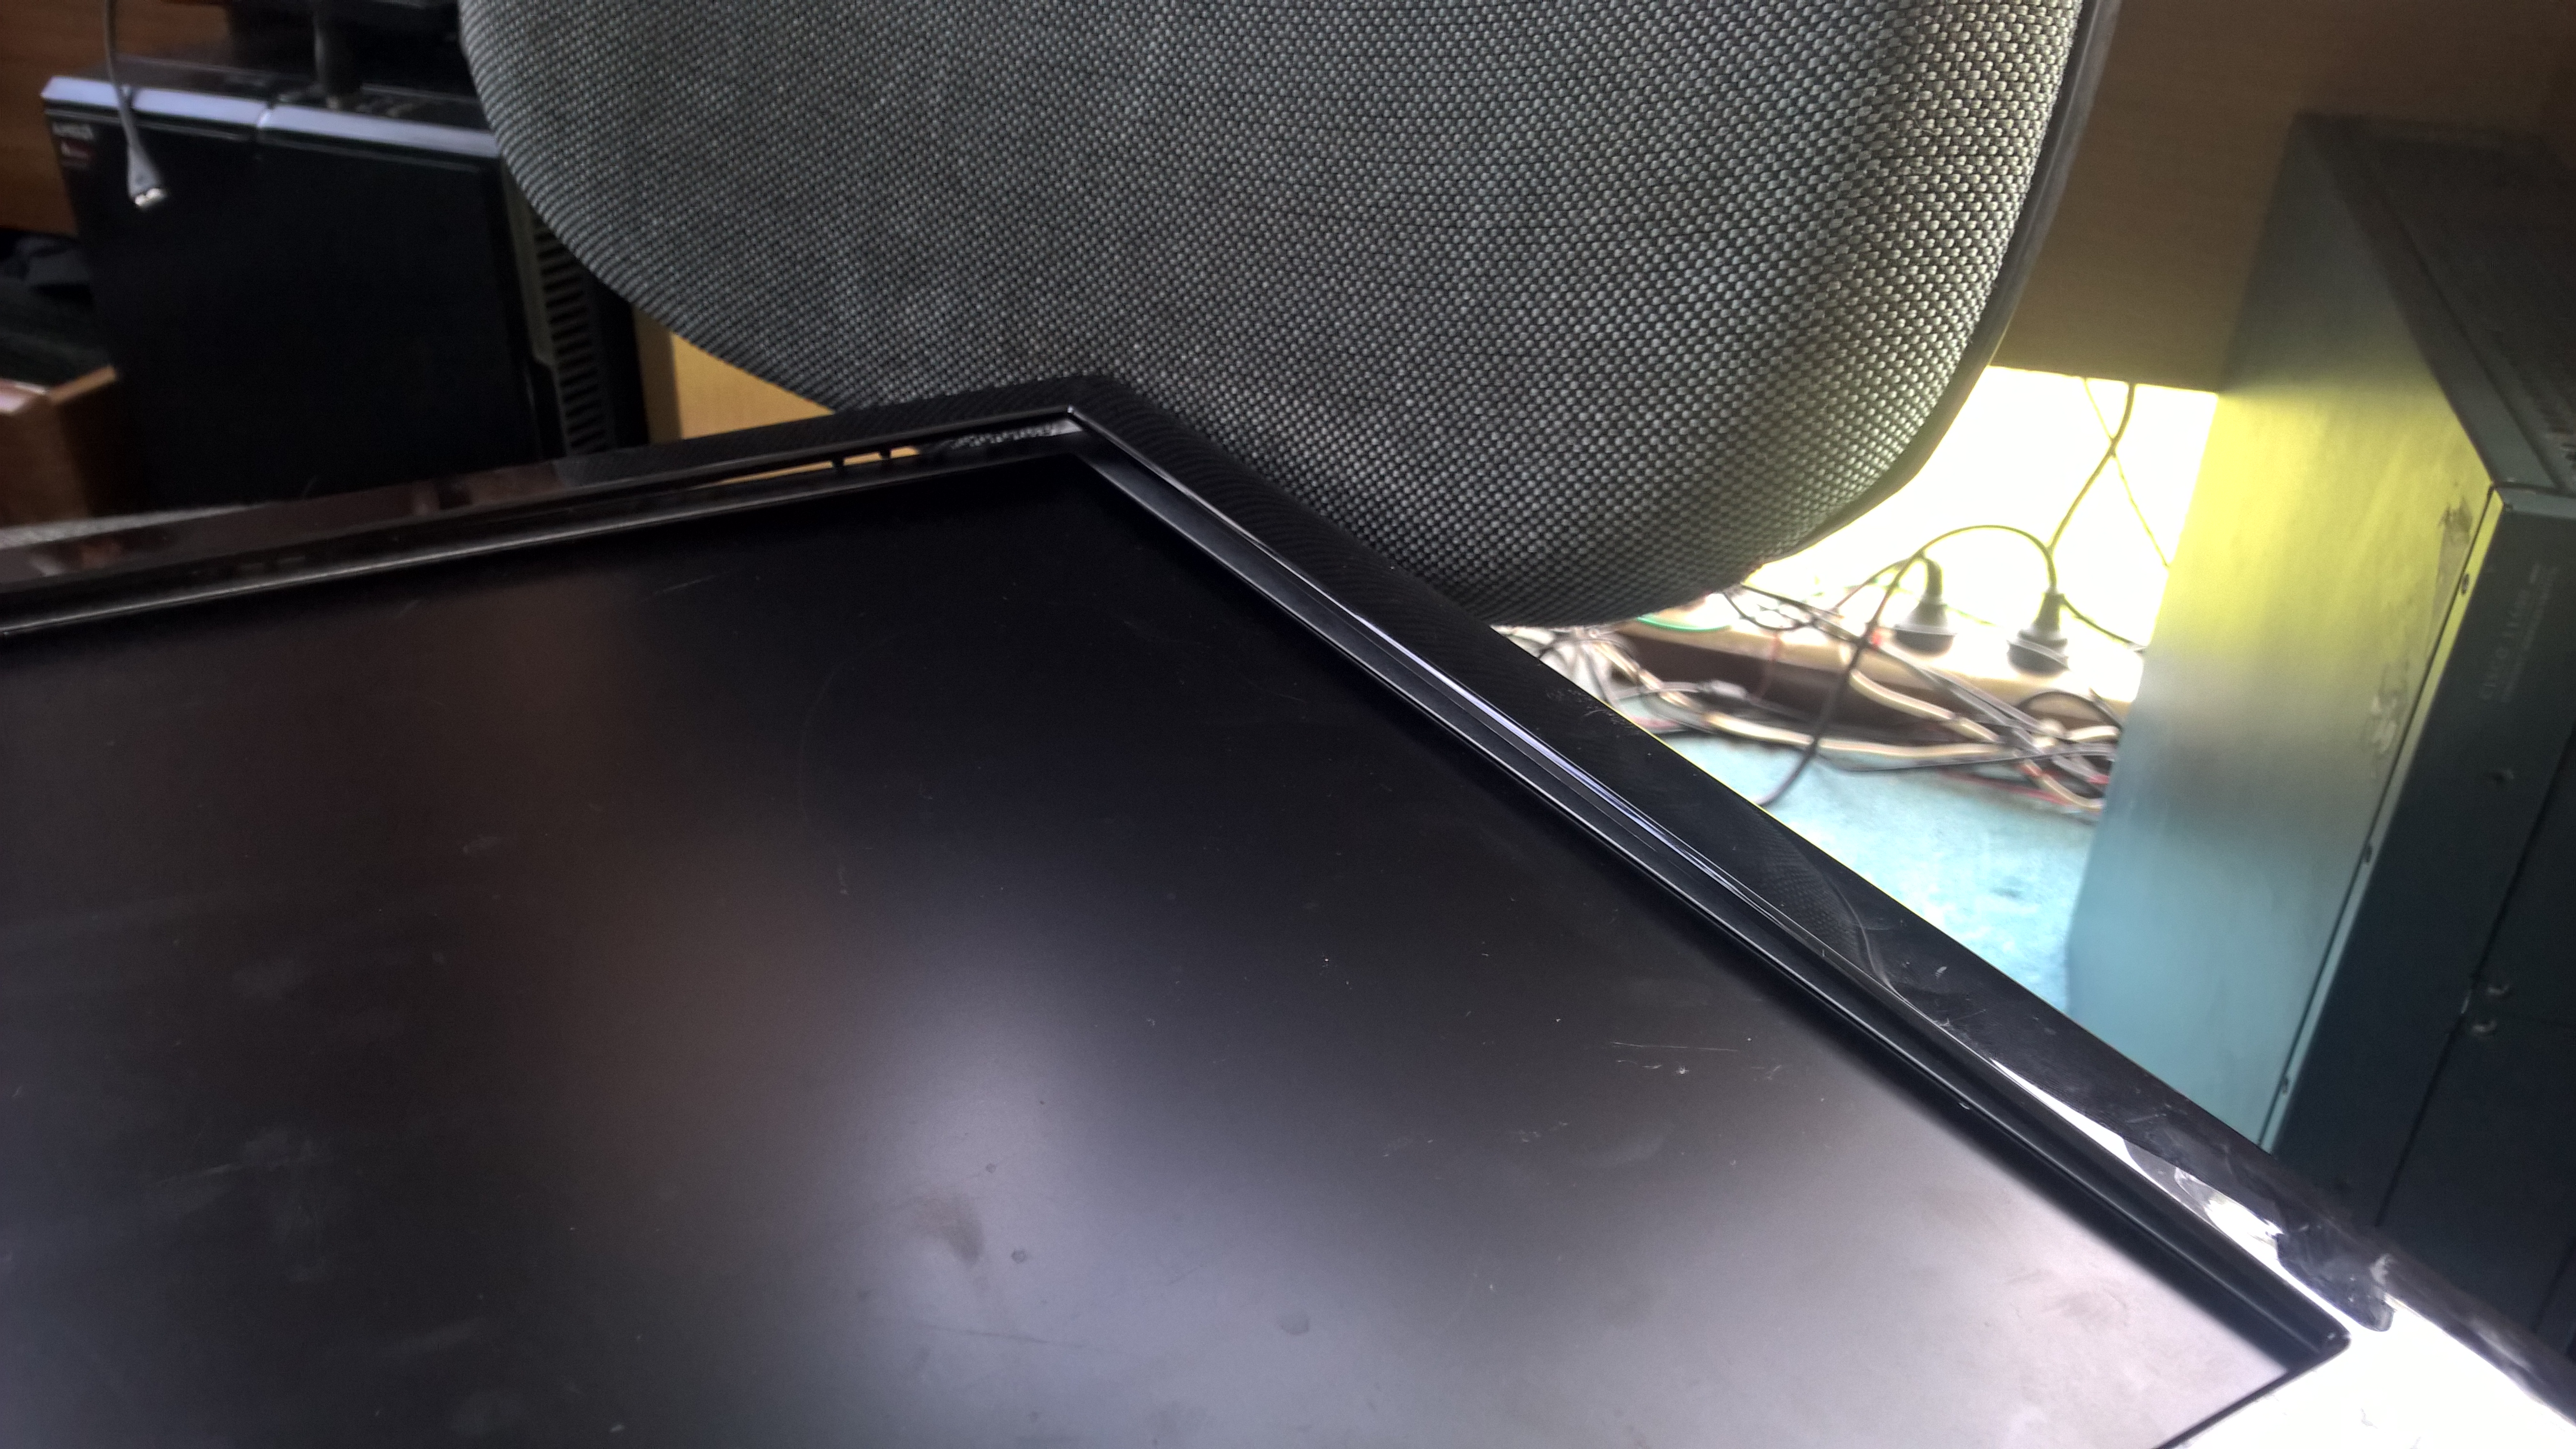
First you have to Pull front part off. Start by inserting a pry toll into either the top right or left and moving around the screen avoiding the bottom, as we will have to do that last.

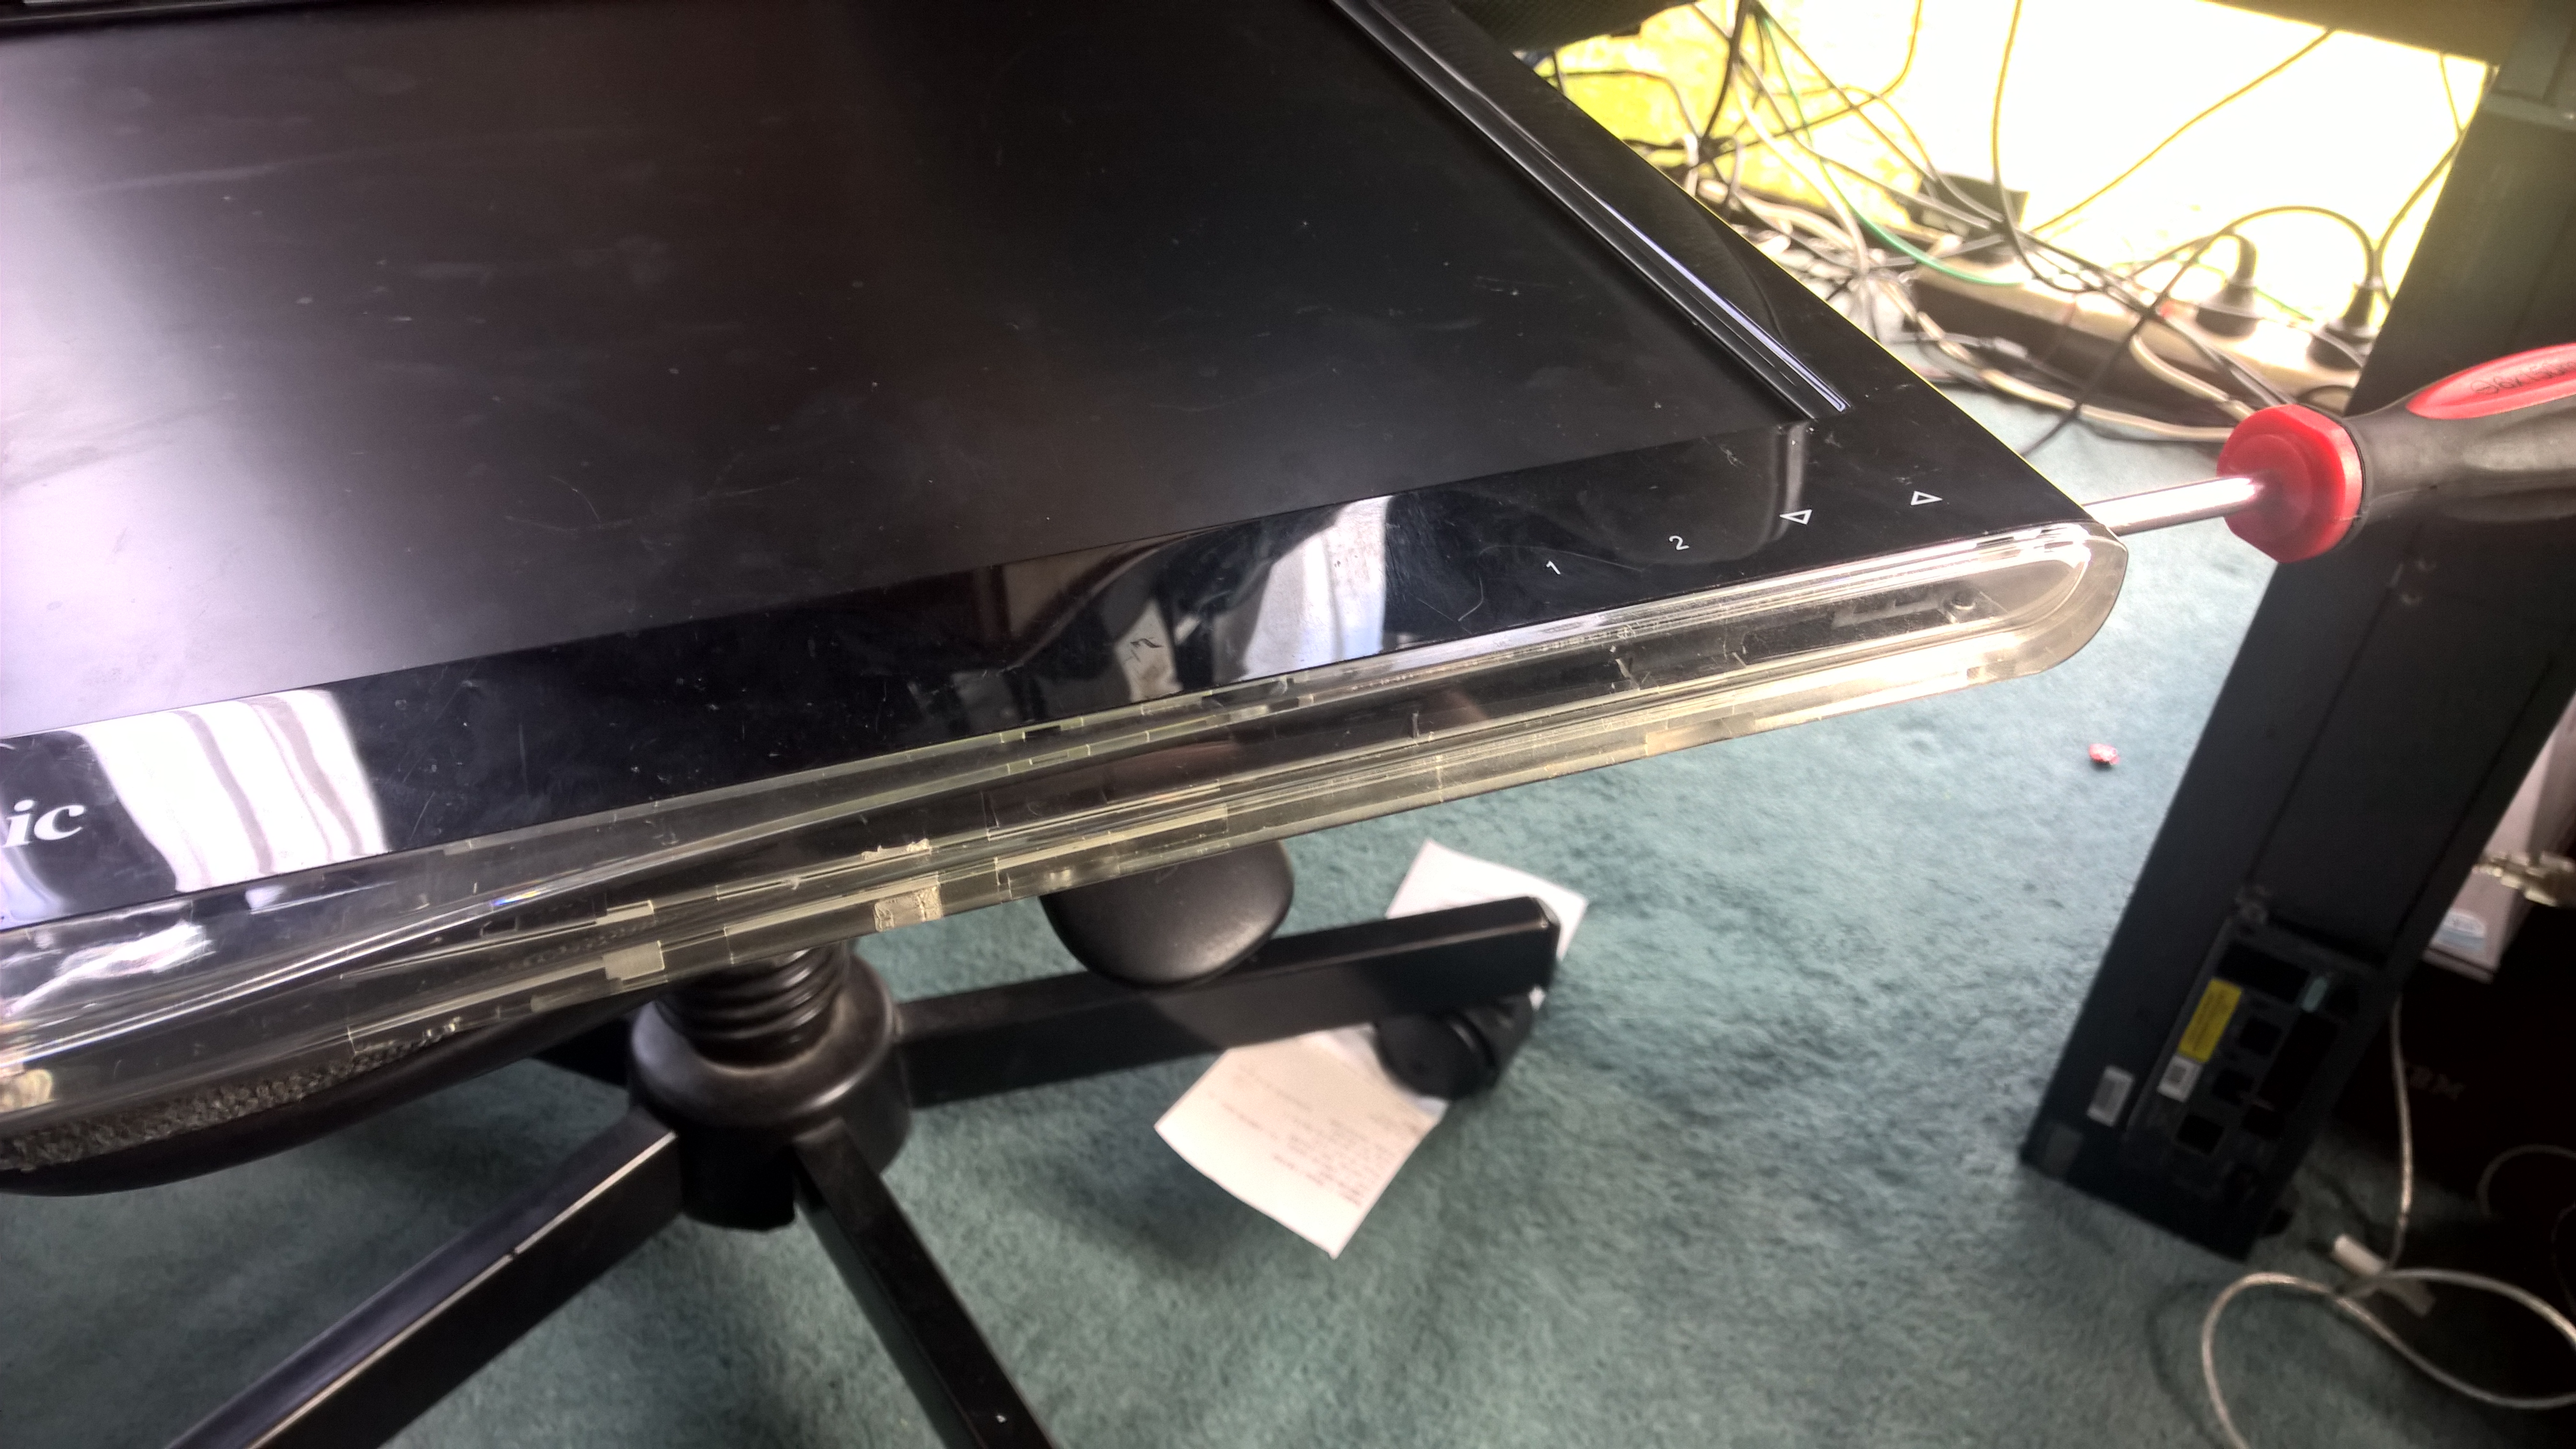
Her comes the Fun Part getting the bottom clips to release.
I used a Long screw Driver and slowly put enough force to cause the clips to open. When I released on on the left side of the monitor I released on on the right side.
You can flip the monitor over and the back will come off. leaving us with the Electronics and the panel

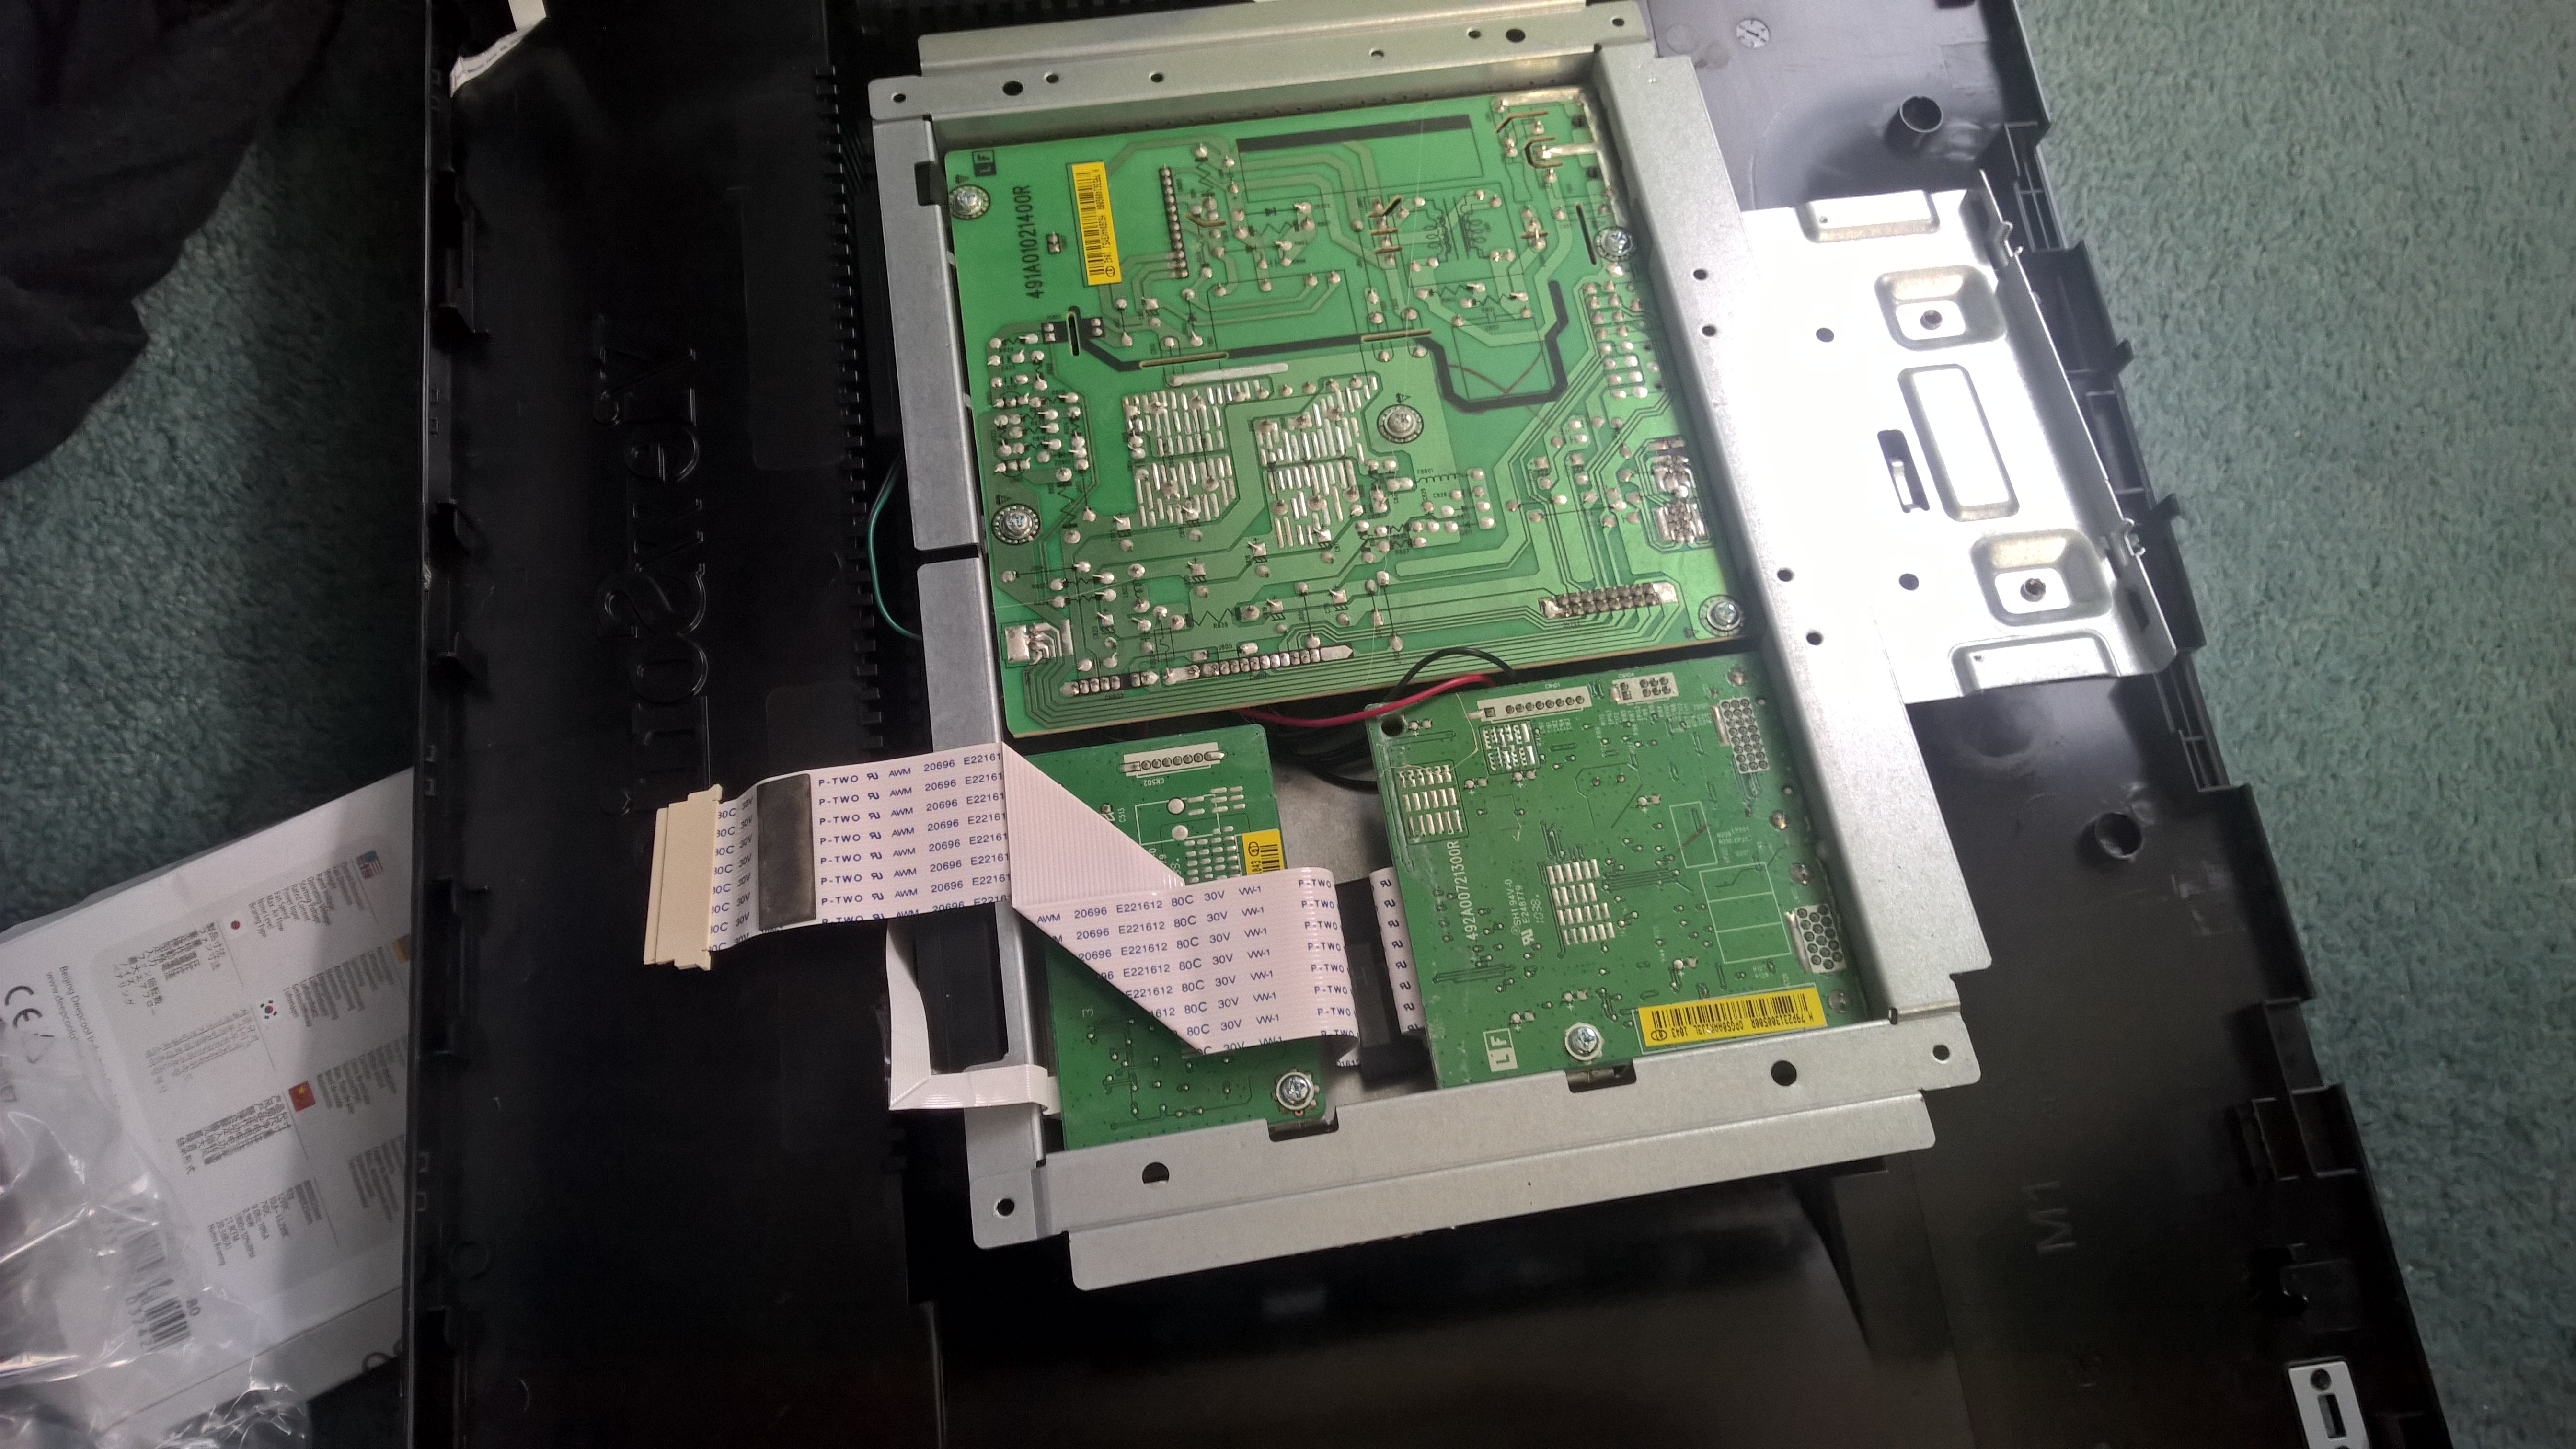
Now you will need to remove the 2 ribbon cables that attached the Electronics to the Panel and to the LED backlight
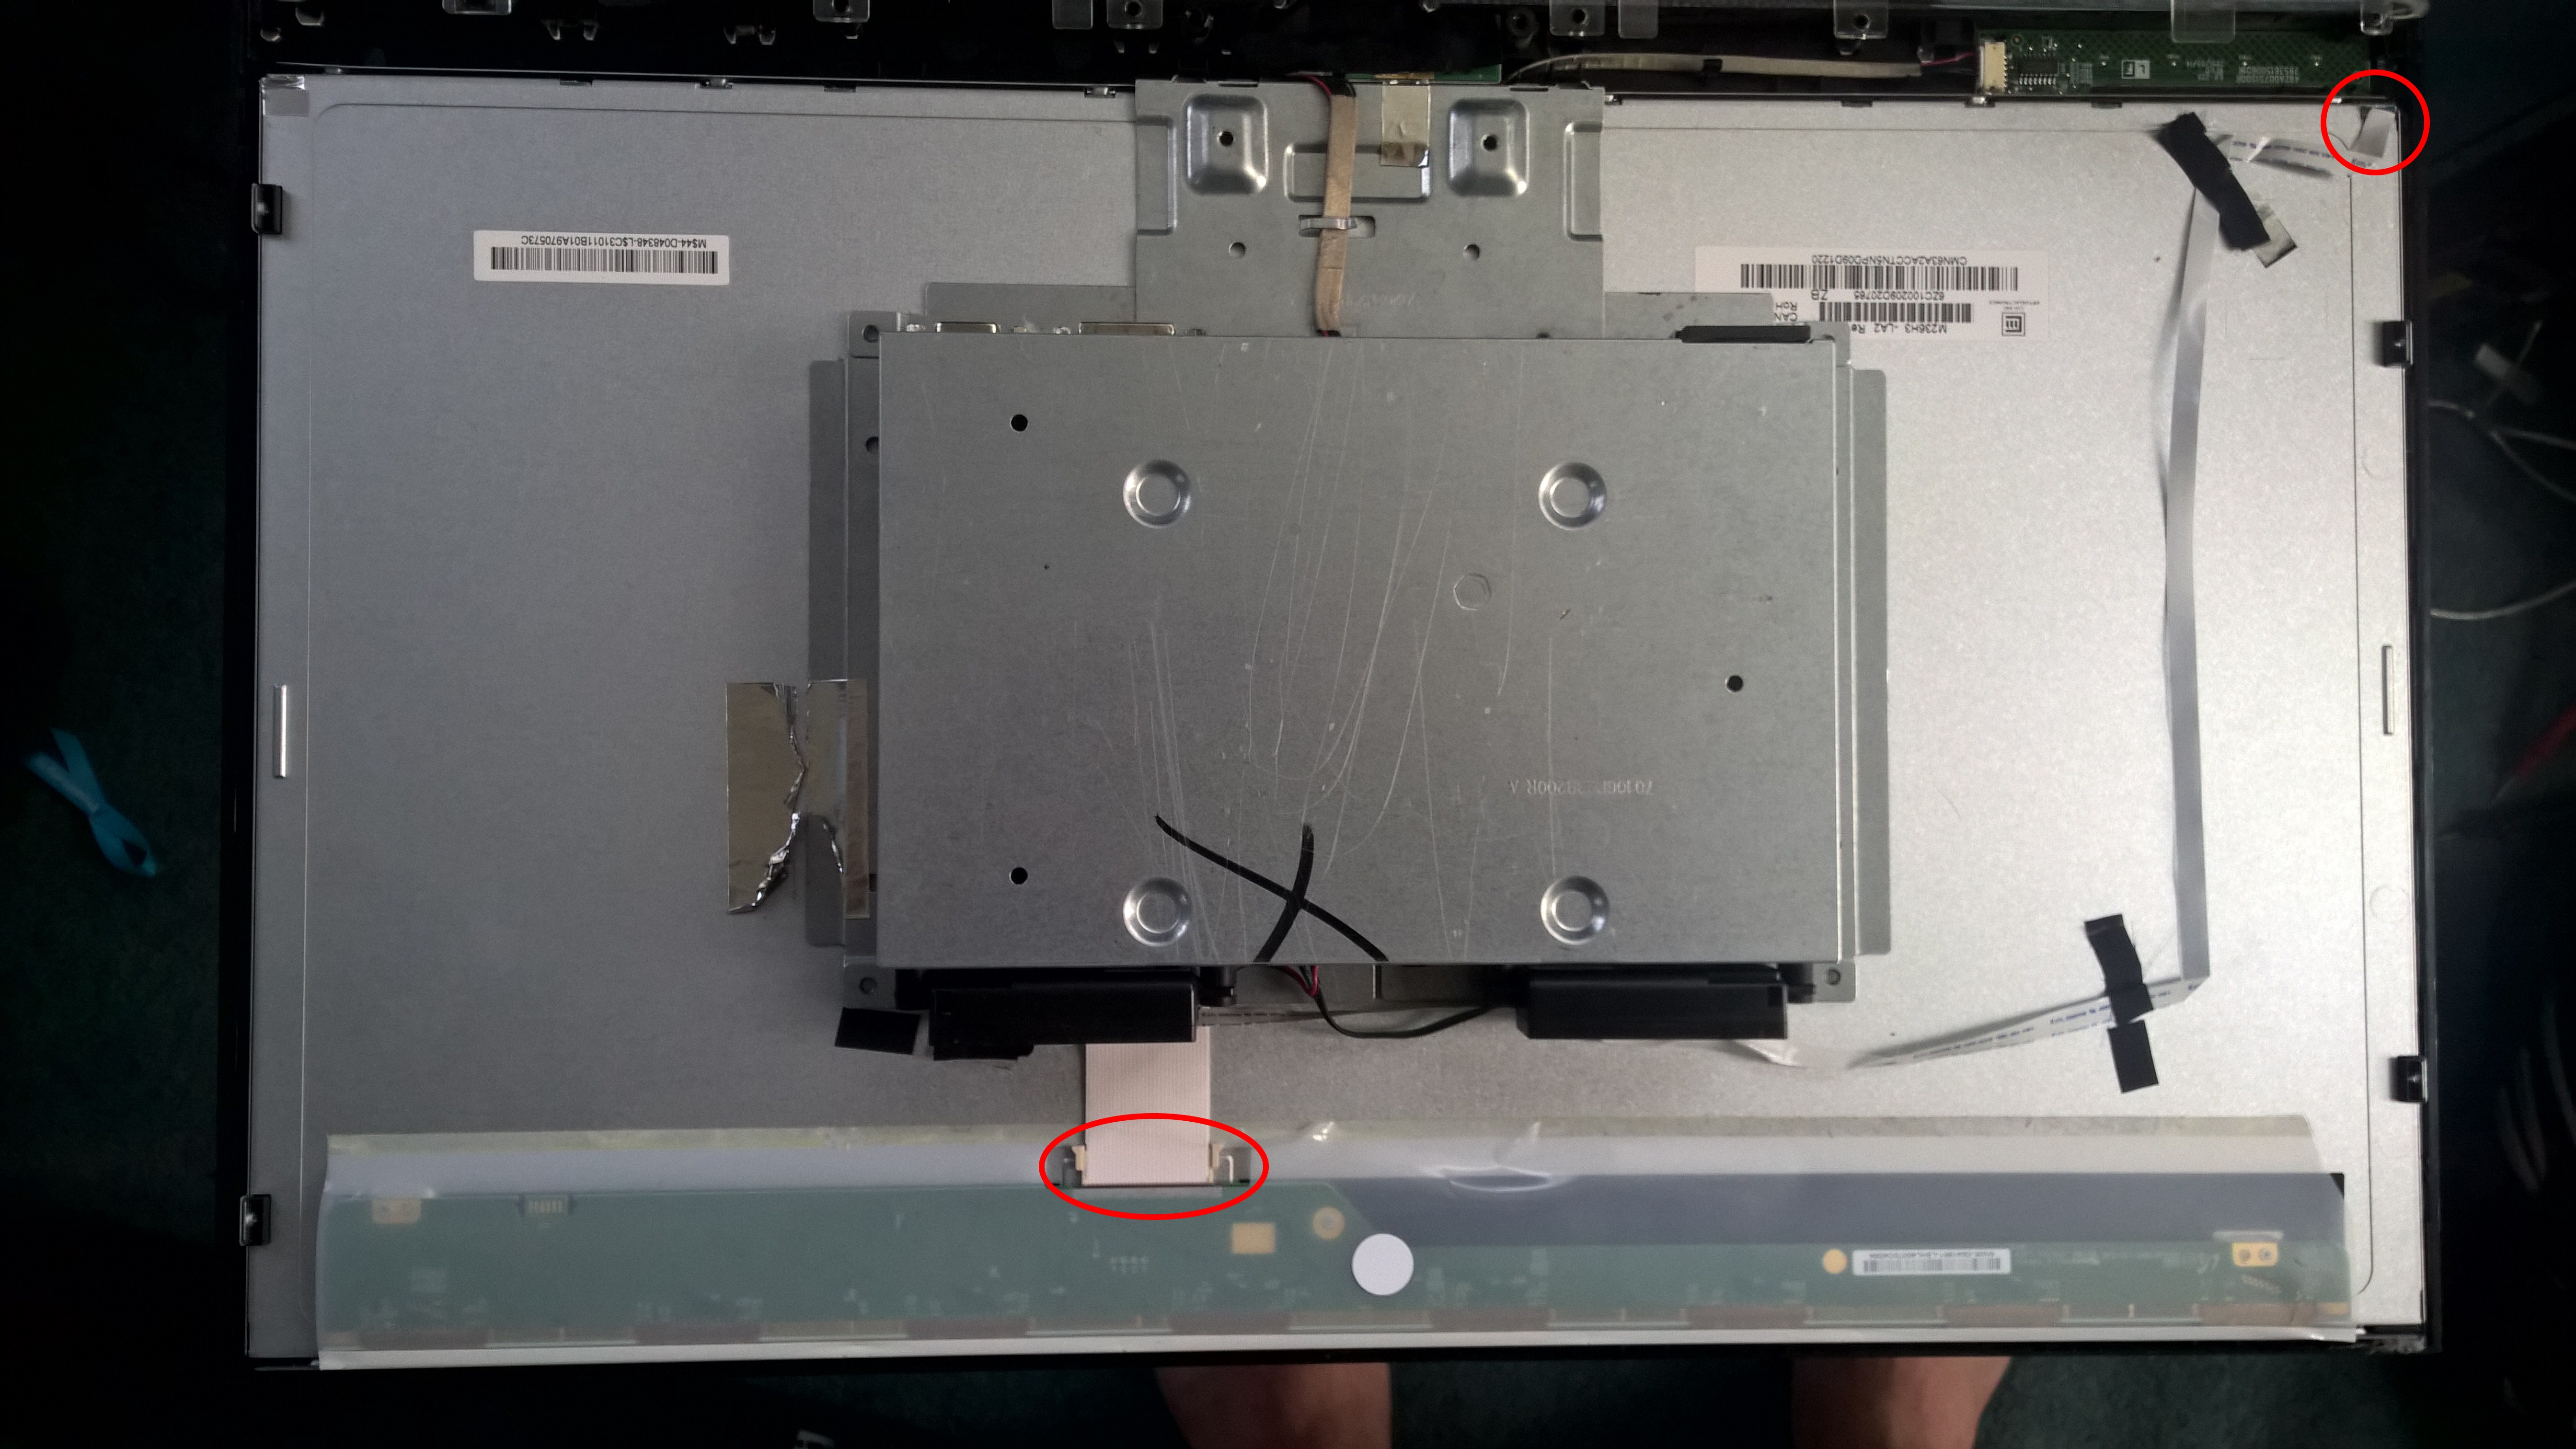
Also you will need to remove the cable to connect the buttons to the Electronics, the easy way is to remove it from the power button end.
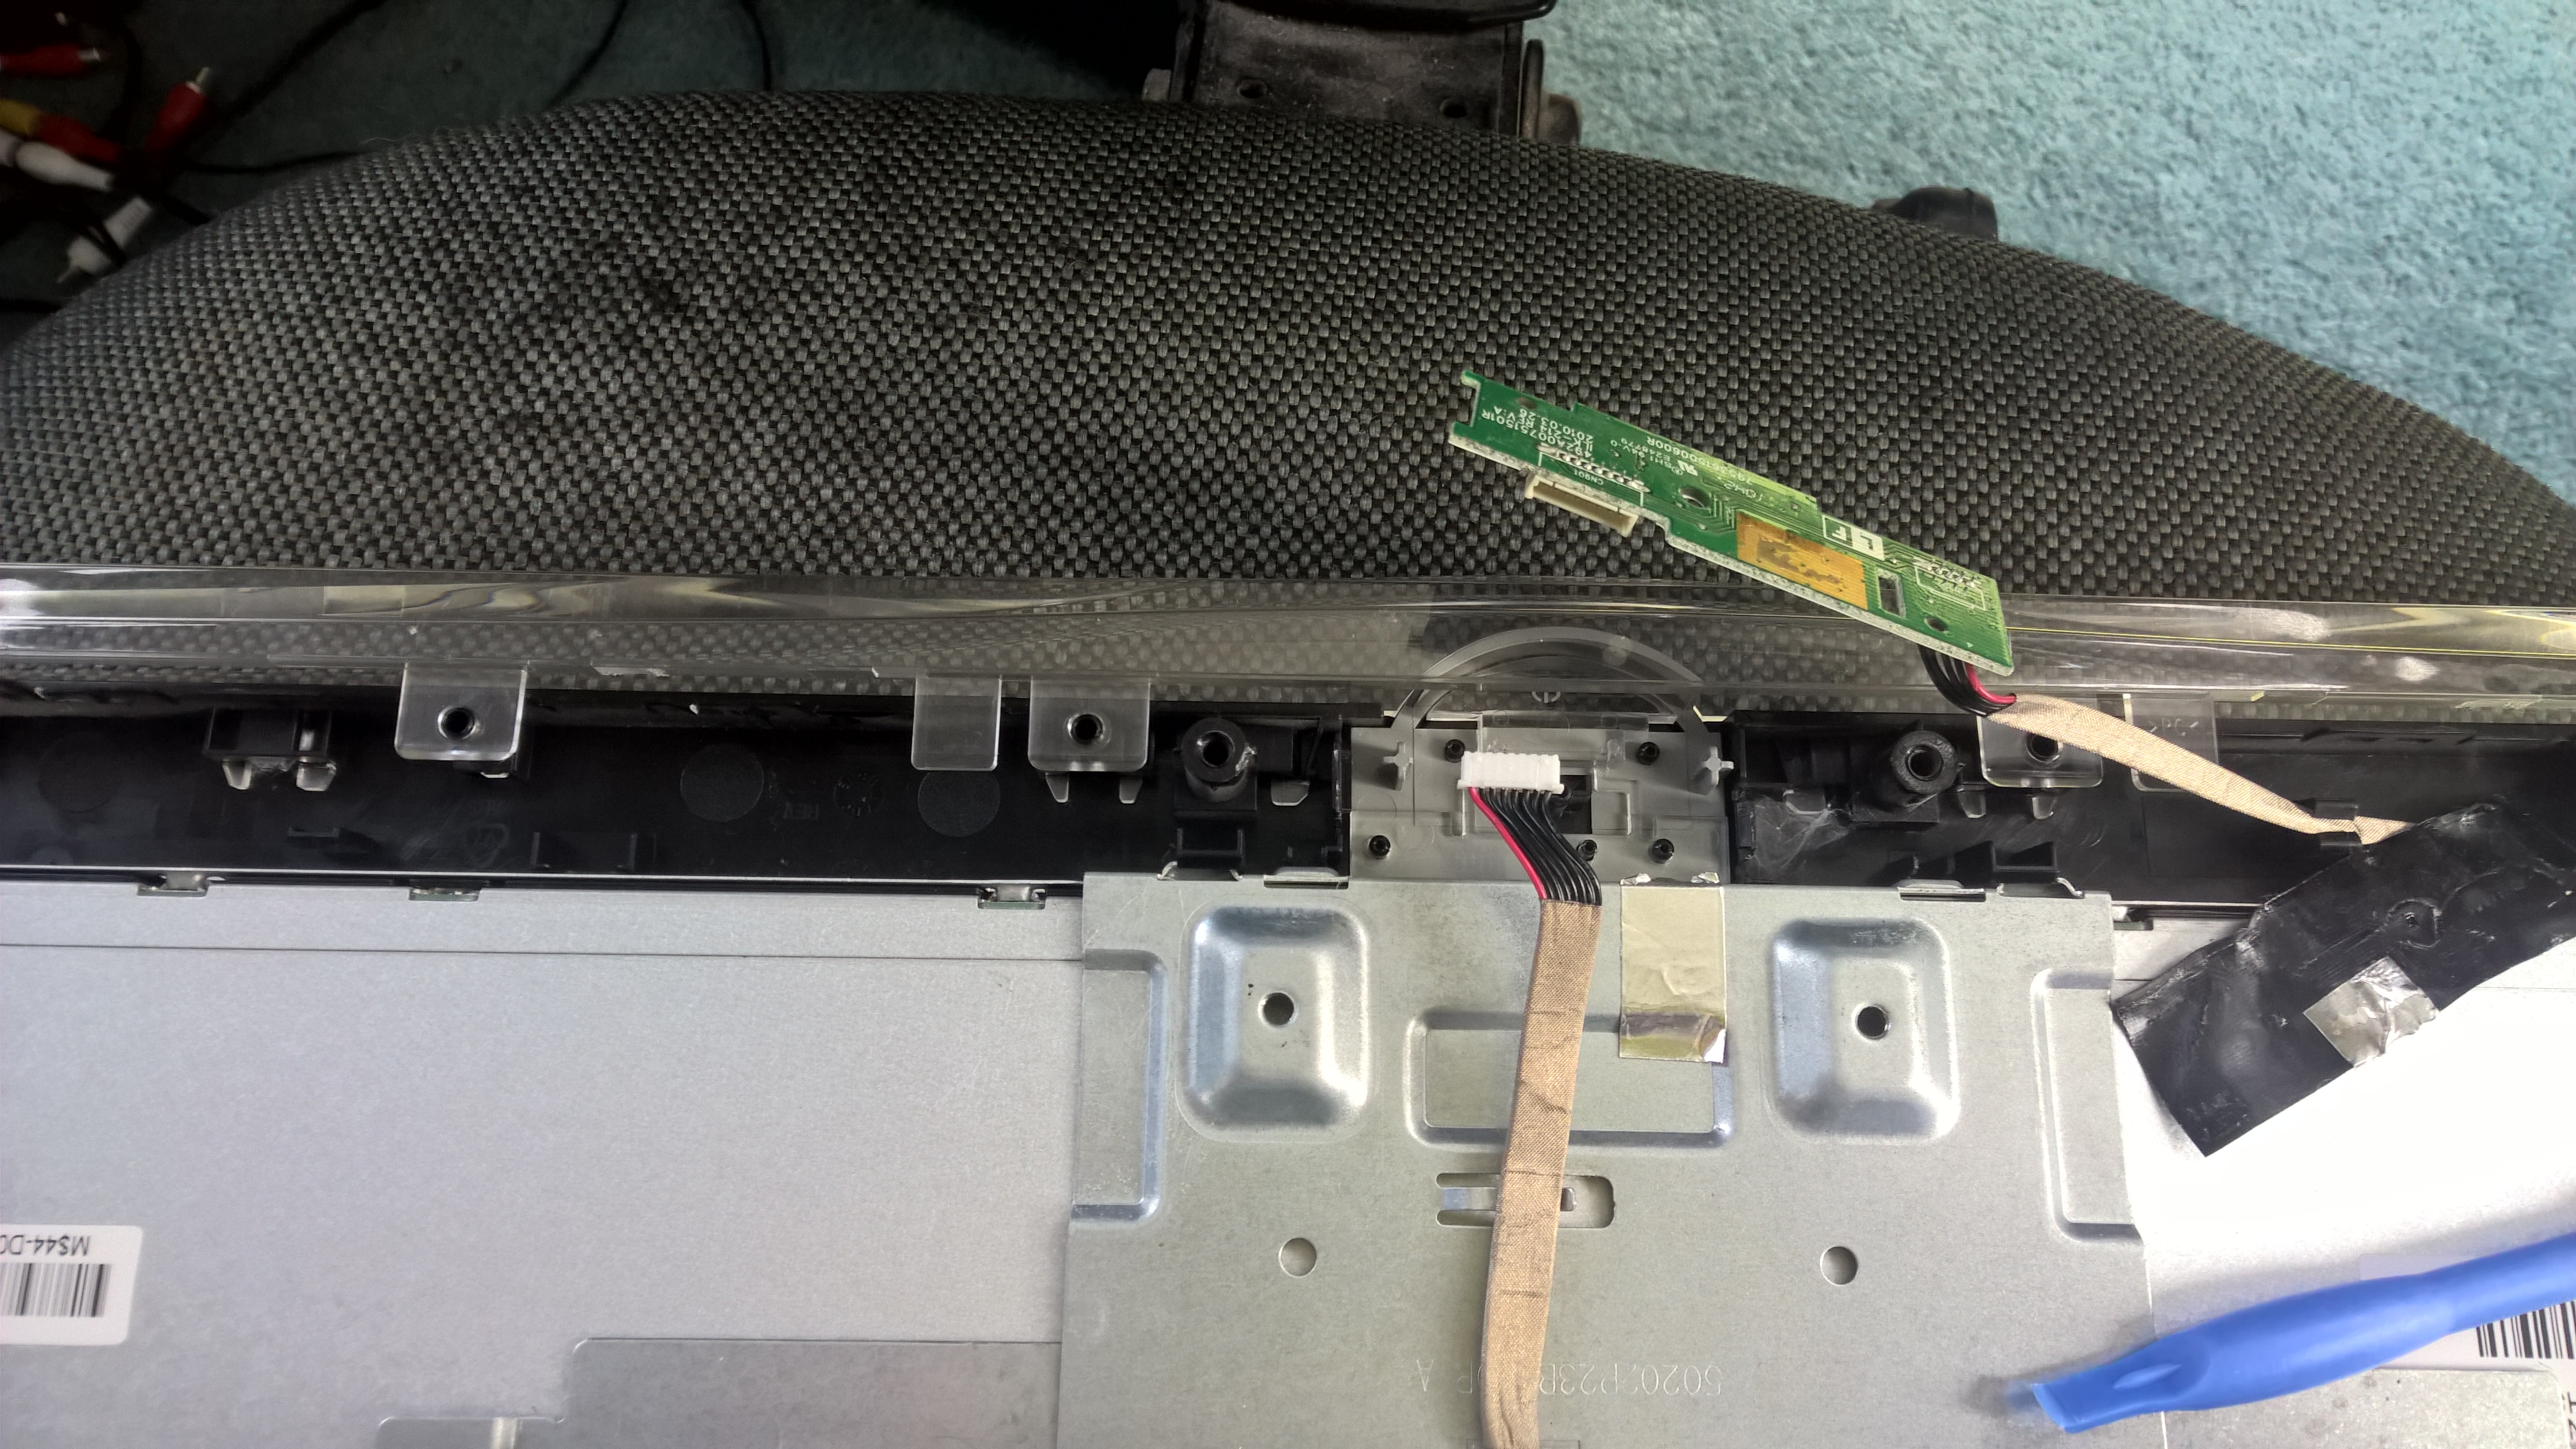
Now you can set aside the Electronics.
Just and FYI the board side is exposed and there are capacitors that can Bite - FUN Fun
This just leaves us with the Panel.
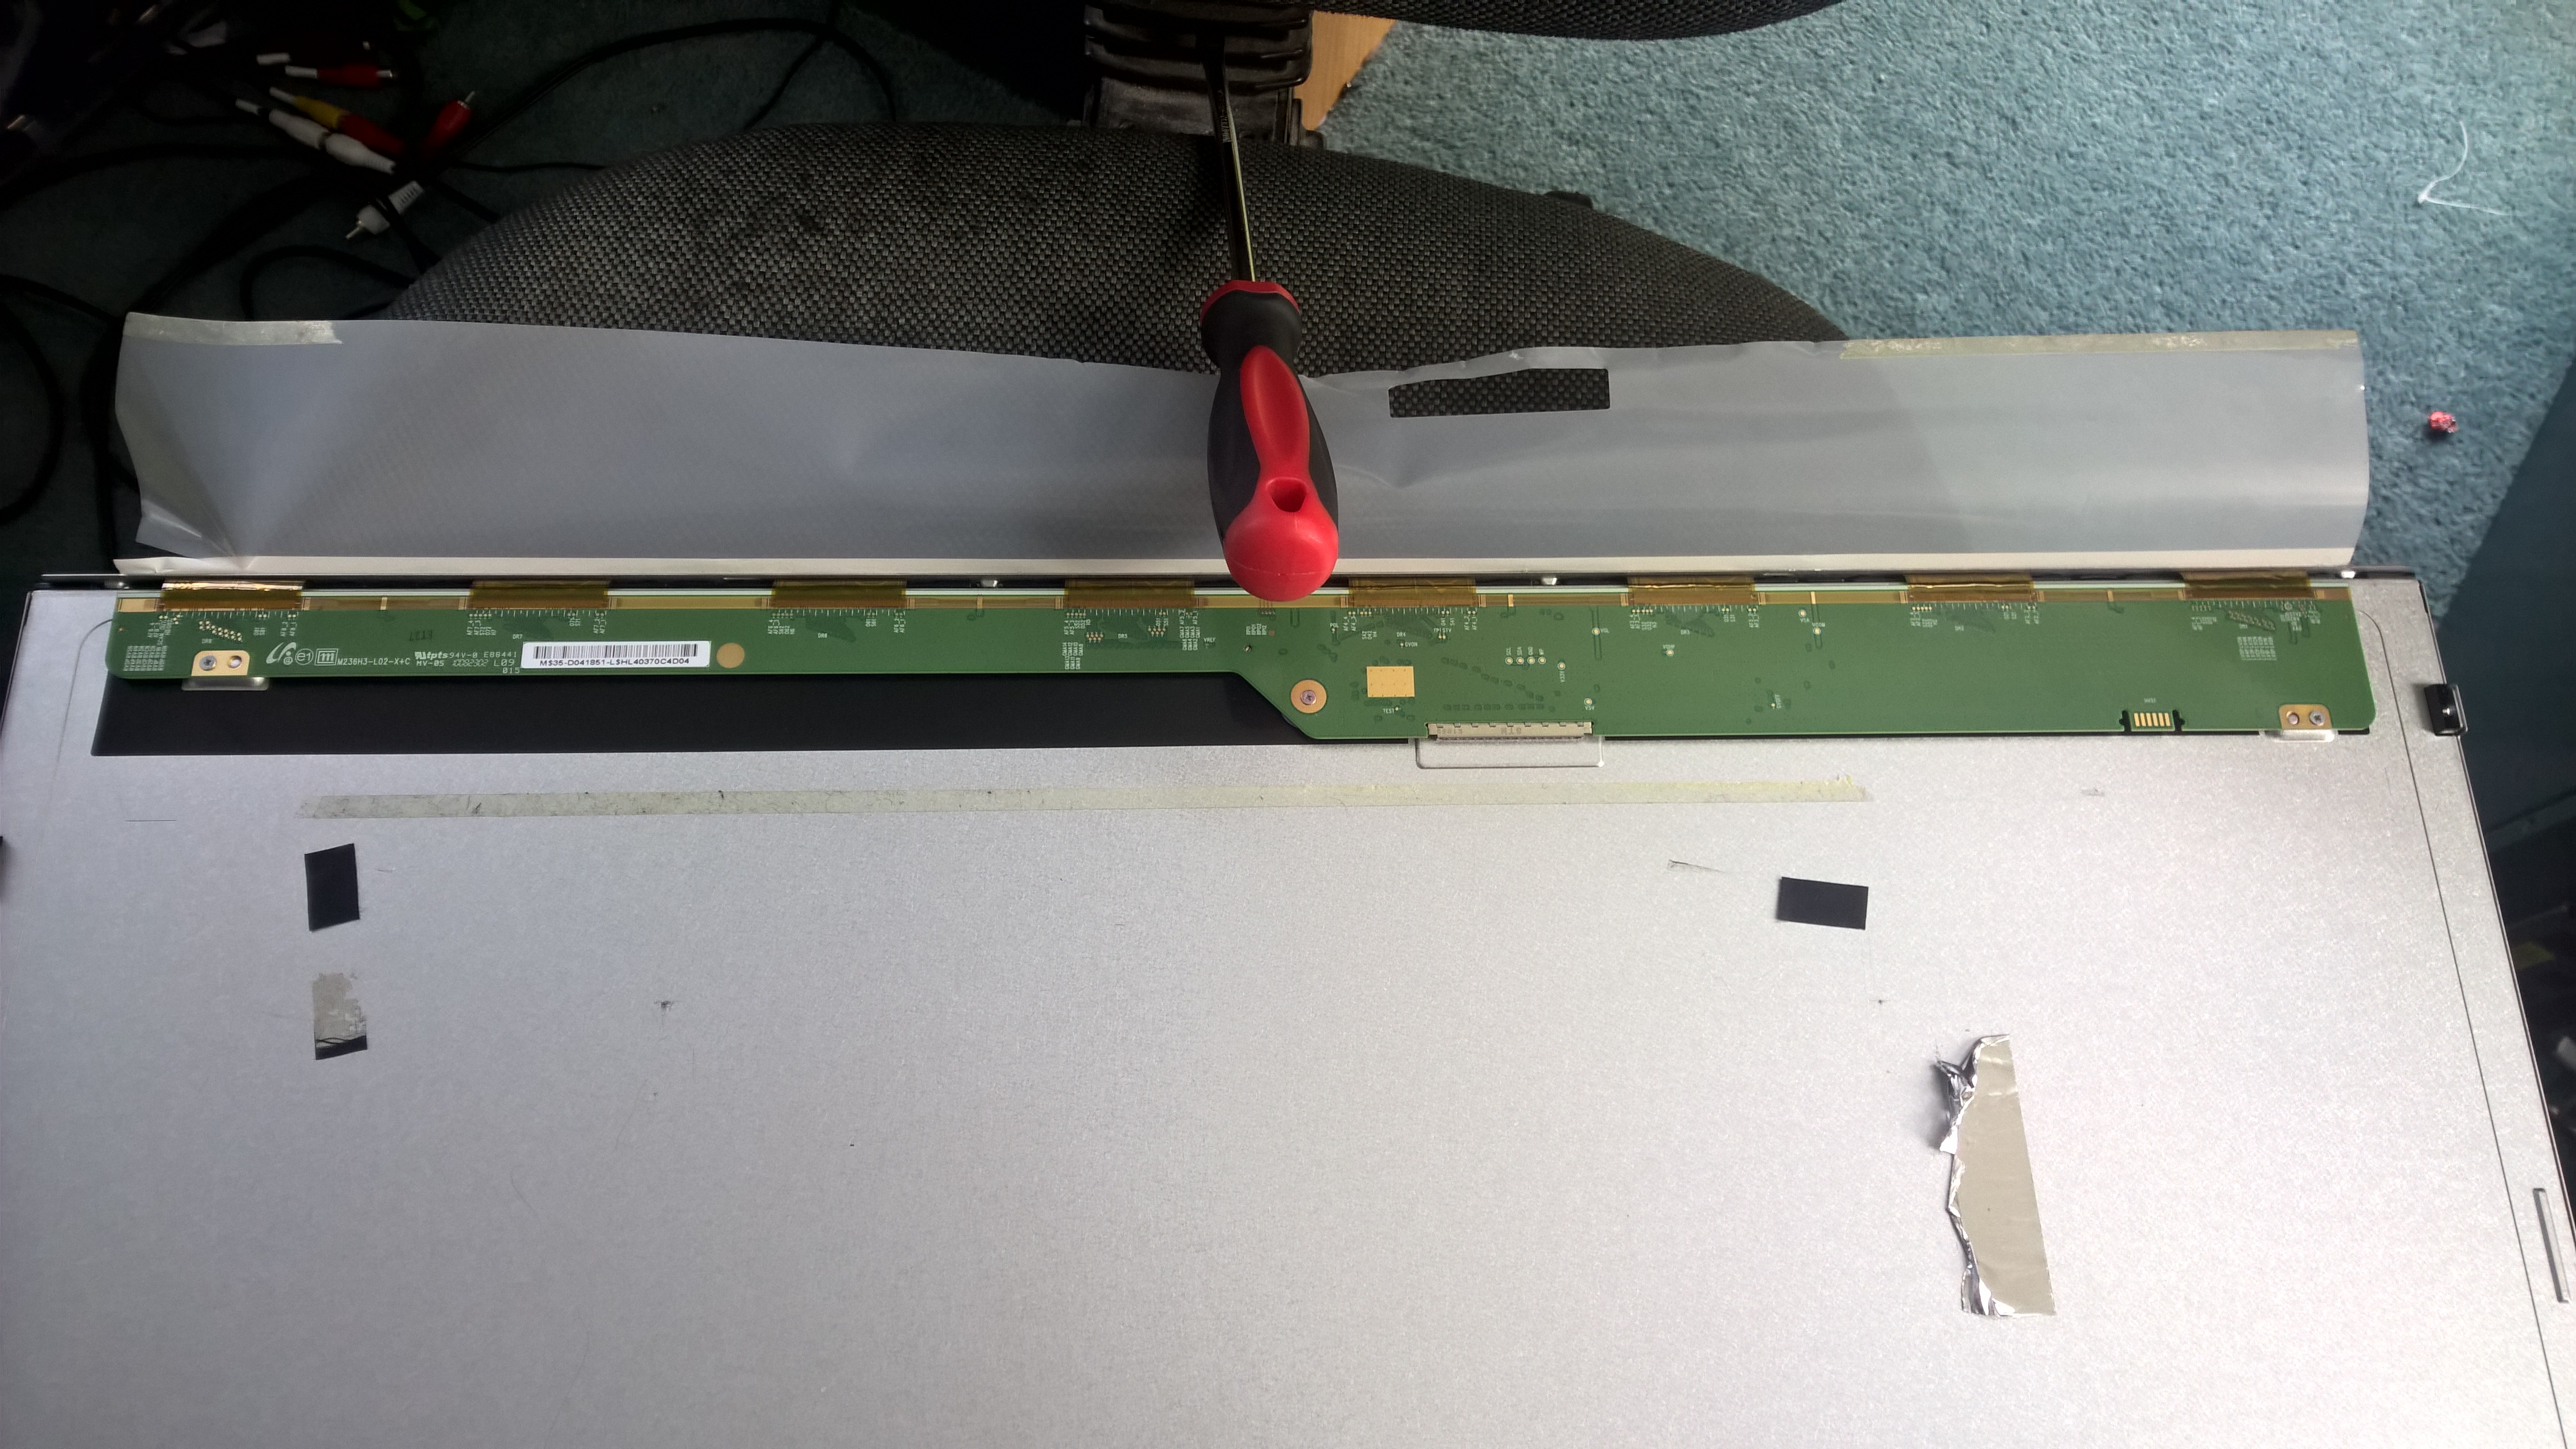
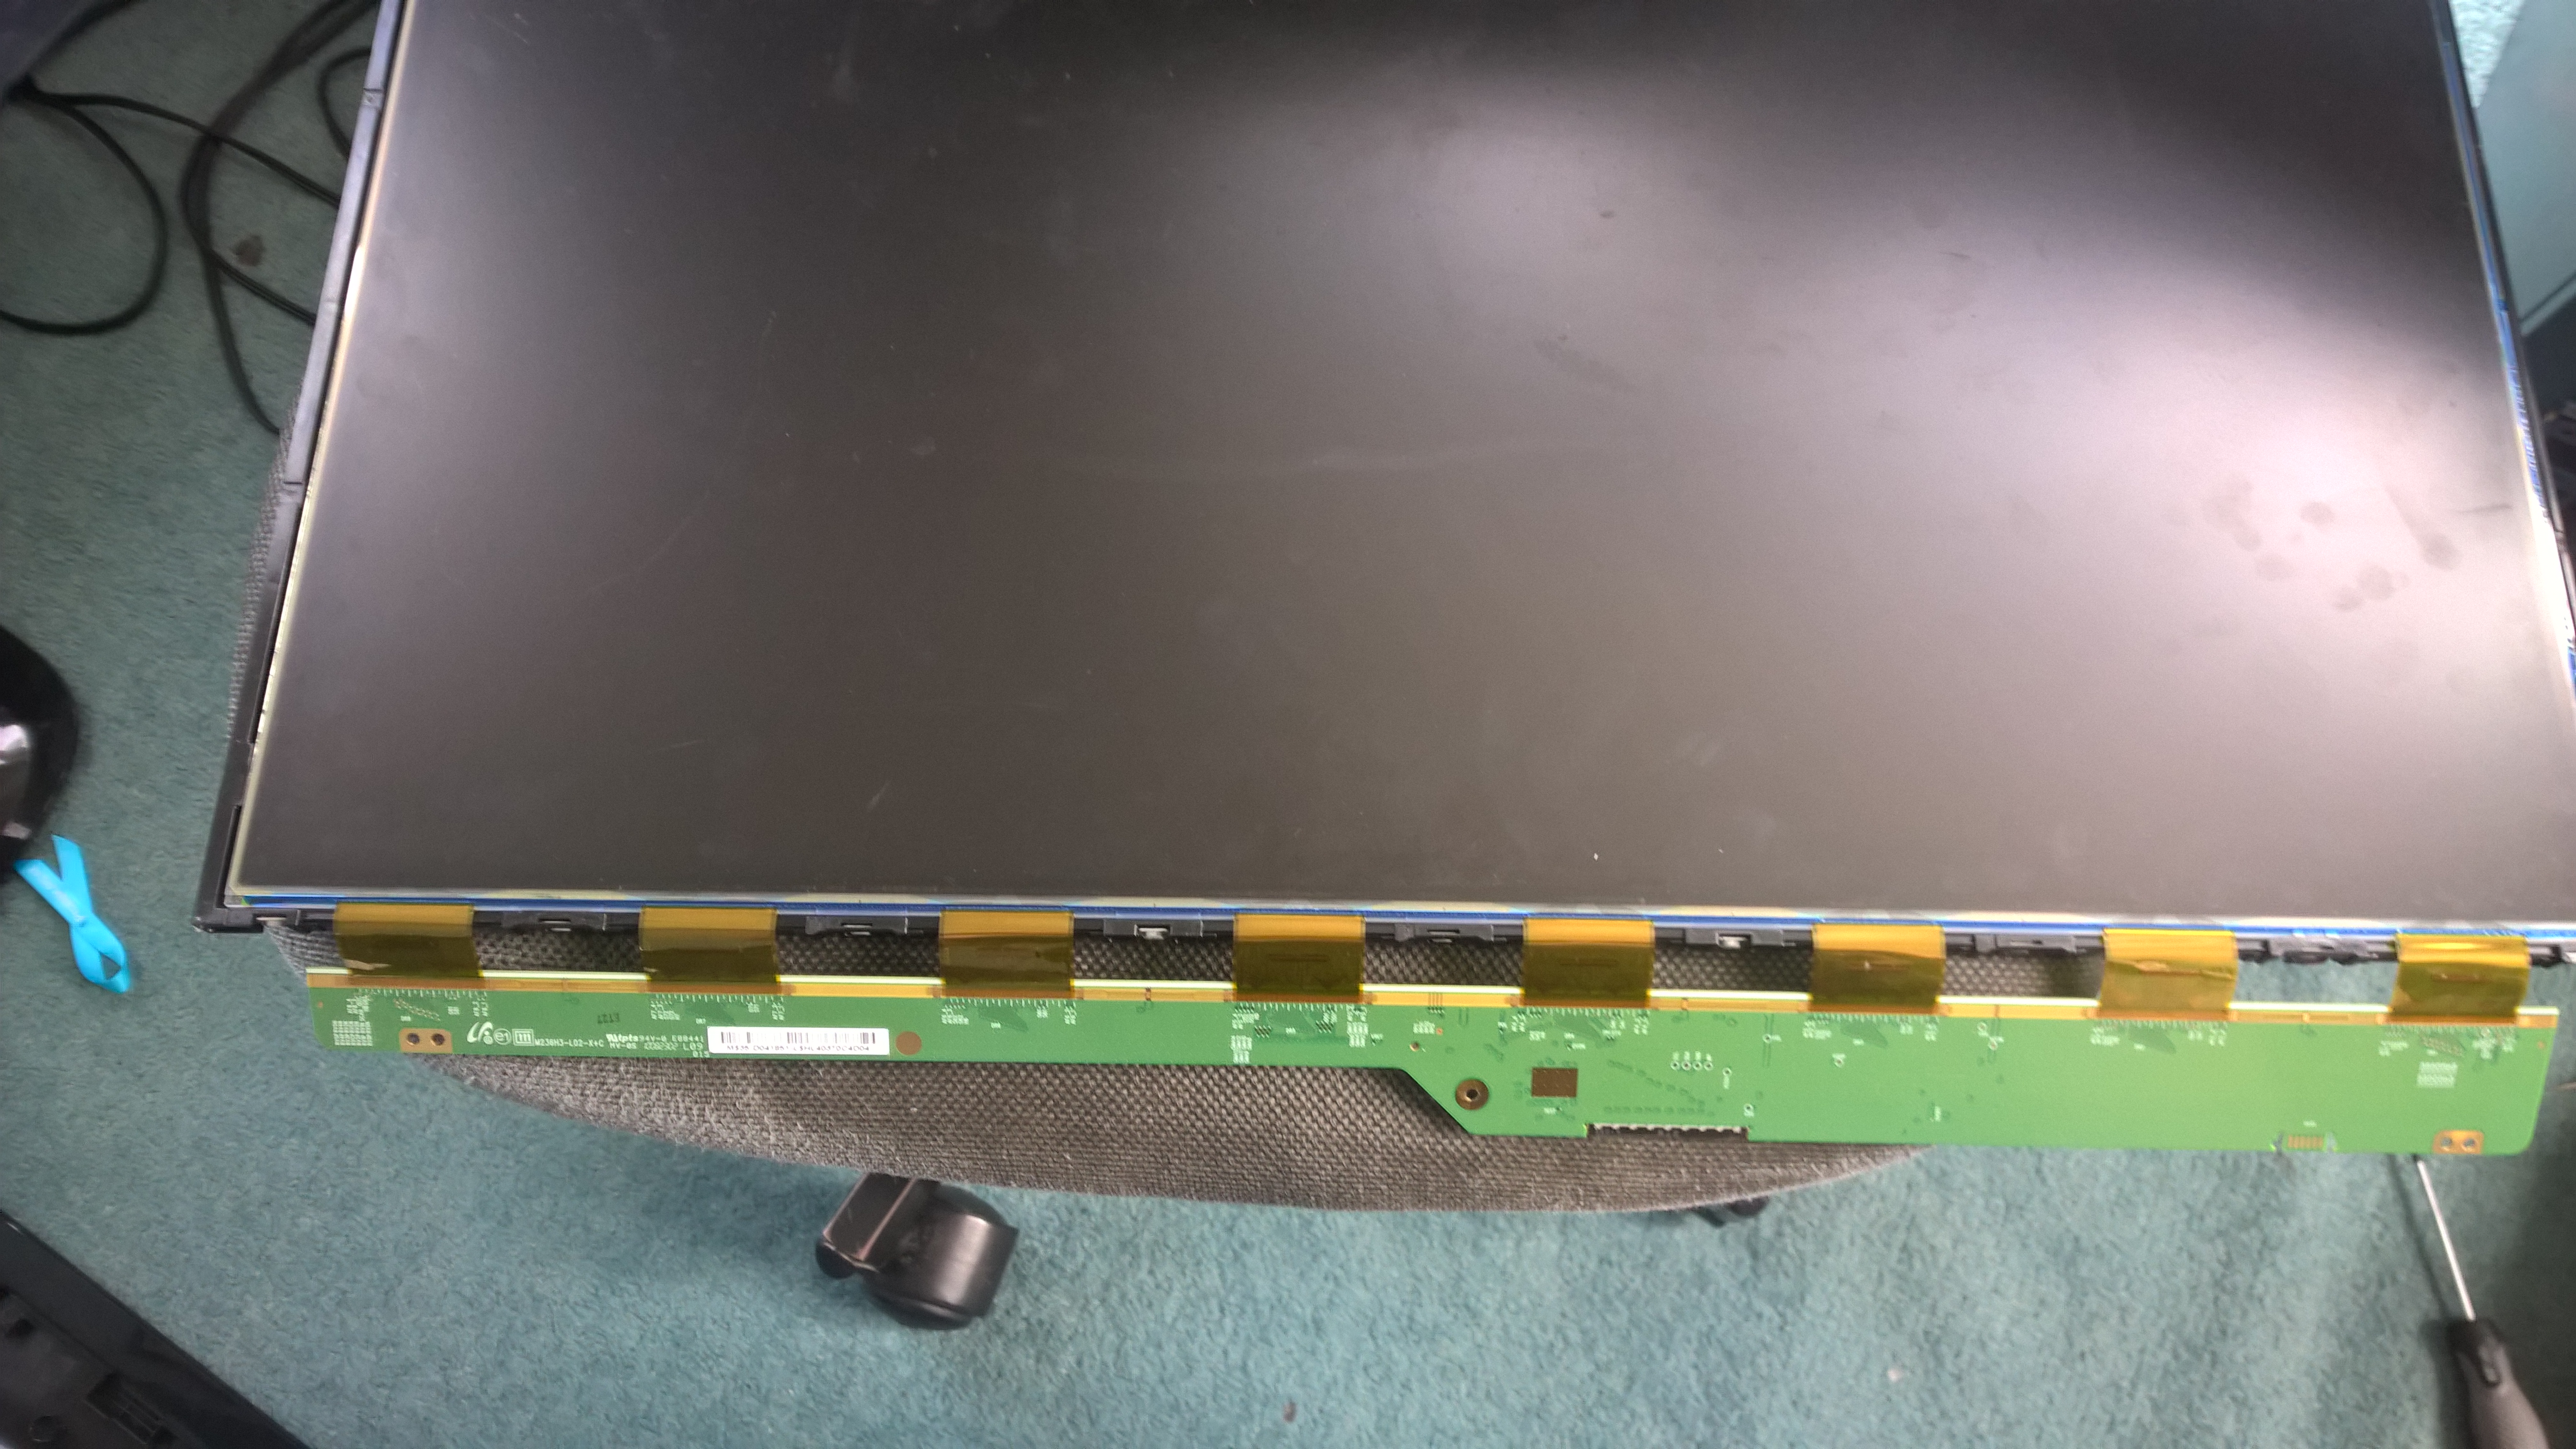
Here is the Fun part we need to remove the LCD from the Backlight.
You will need the remove the Plastic film covering the LCD panel Drive Circuity and remove the 3 screws that hold it to the back of the frame. I used a screw driver to hold the plastic and then the Drive Circuity out the way.
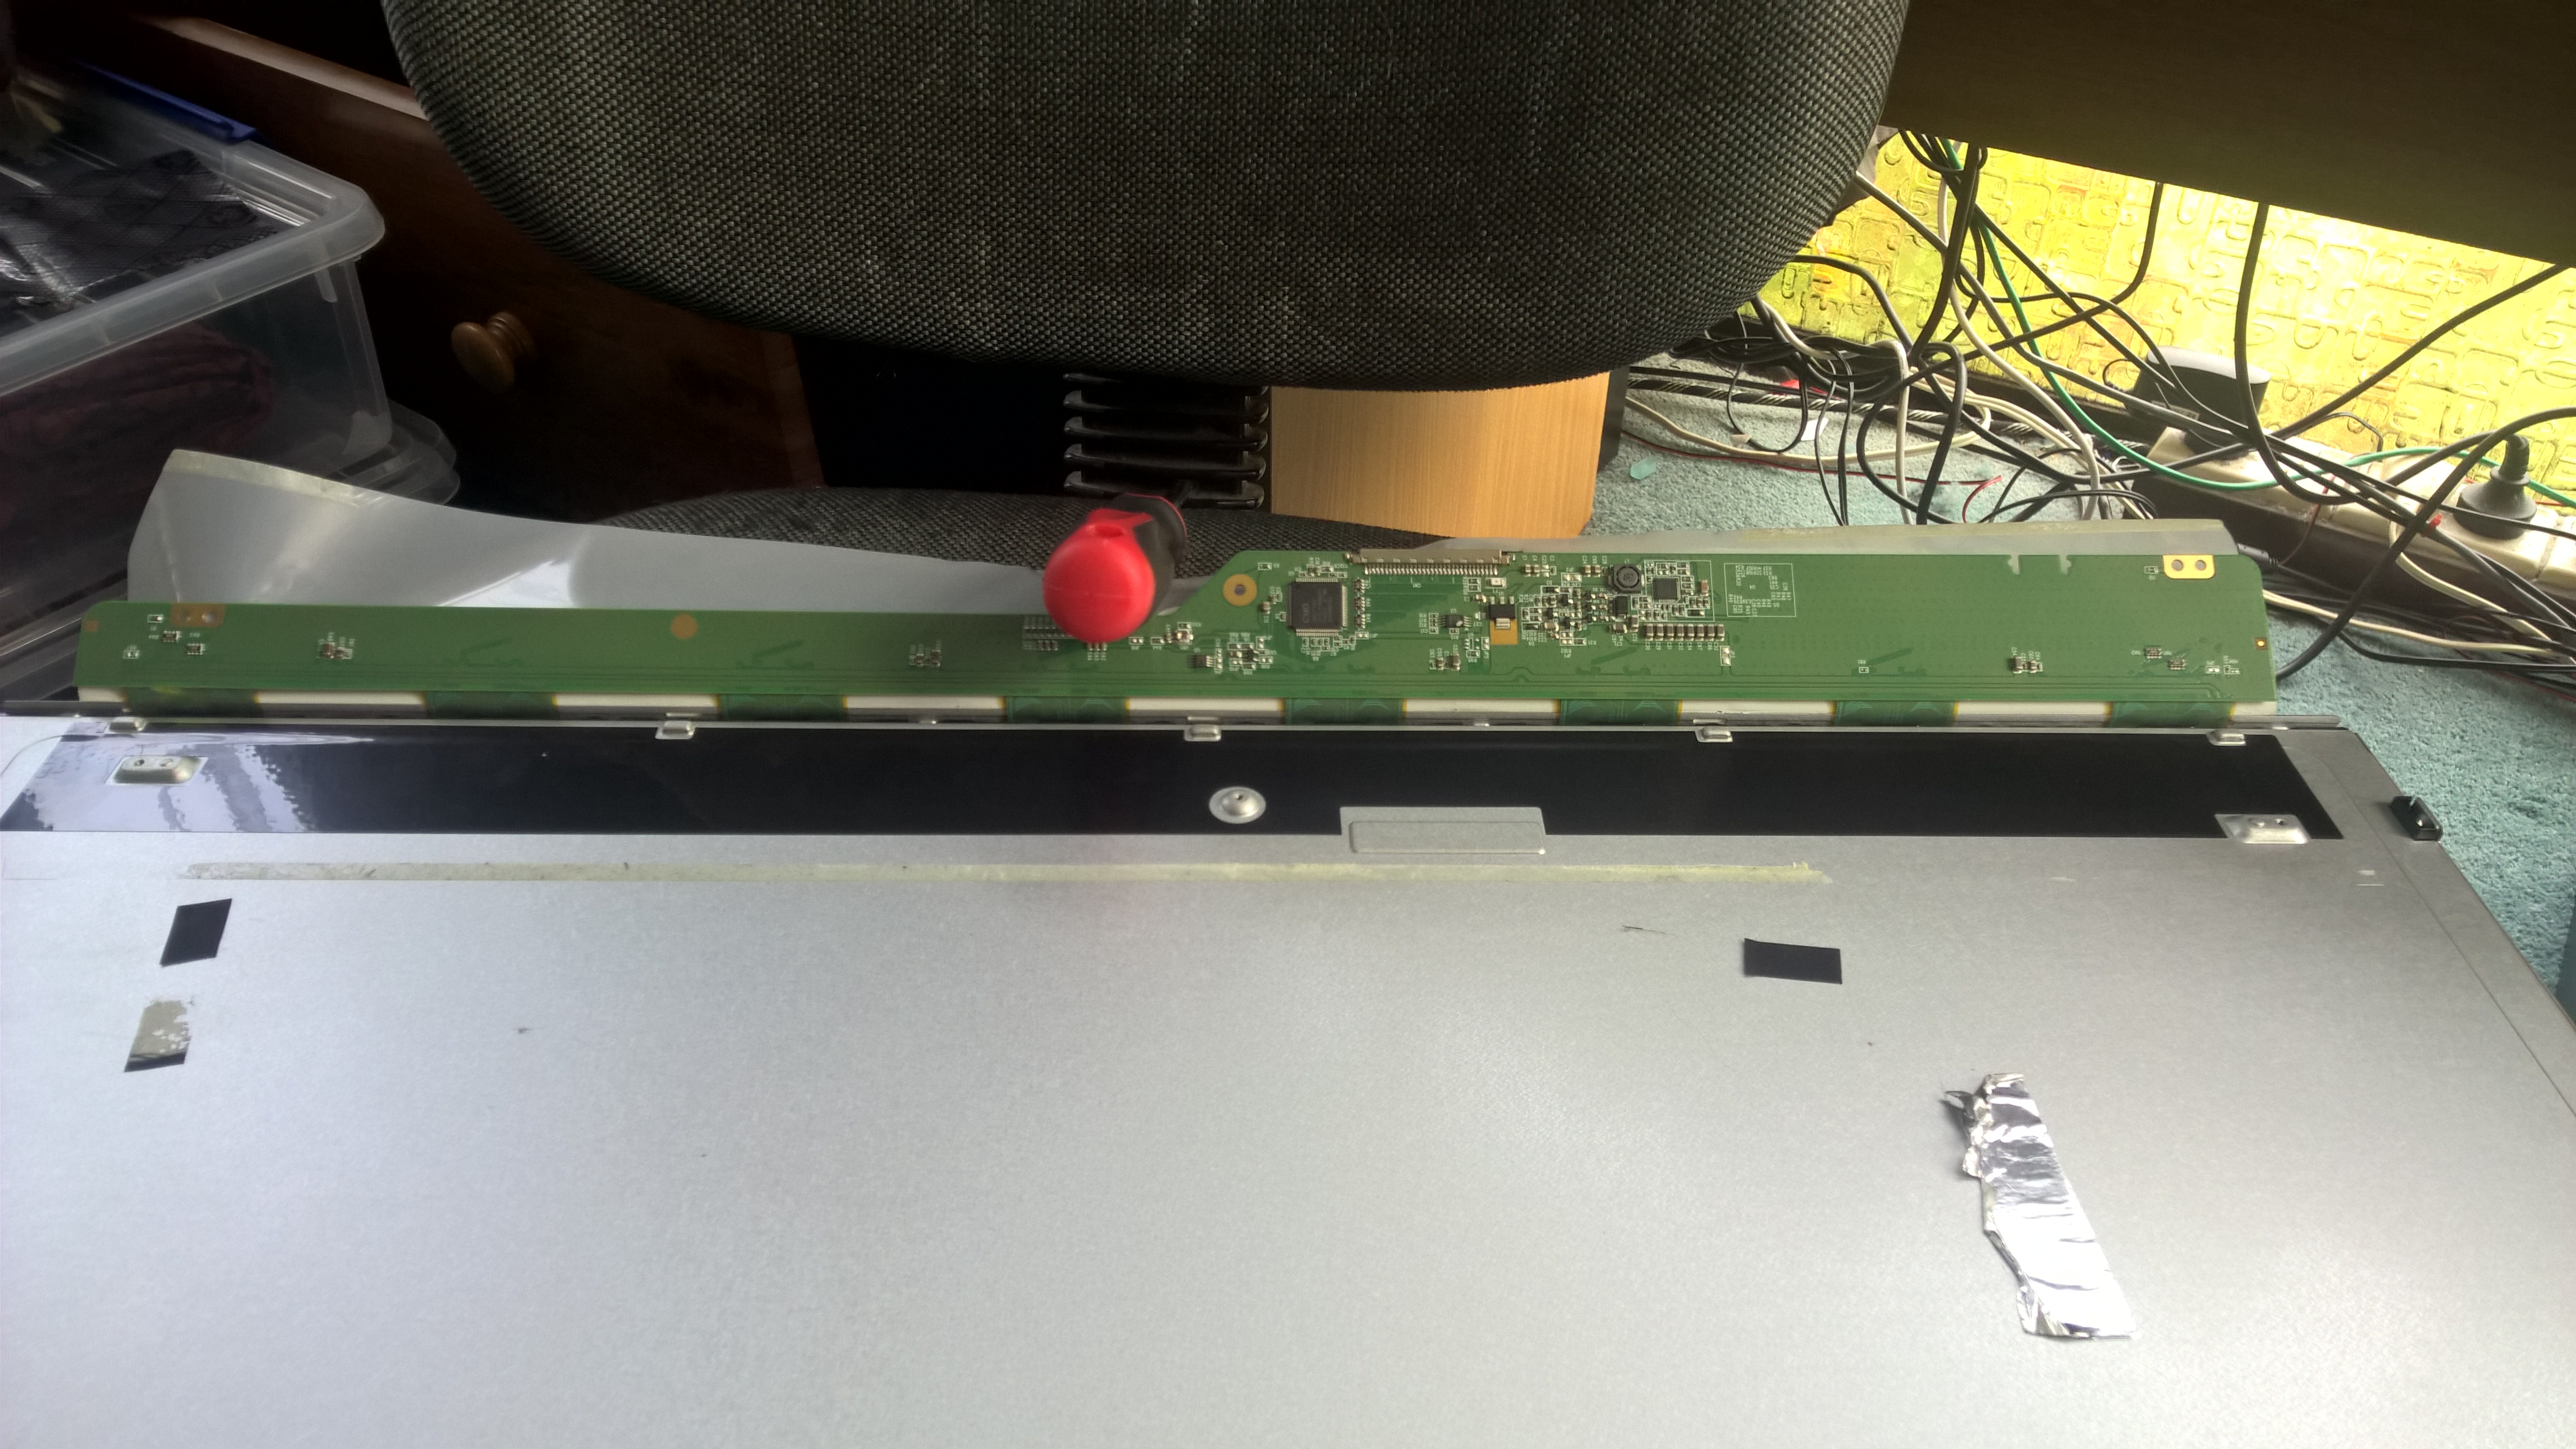
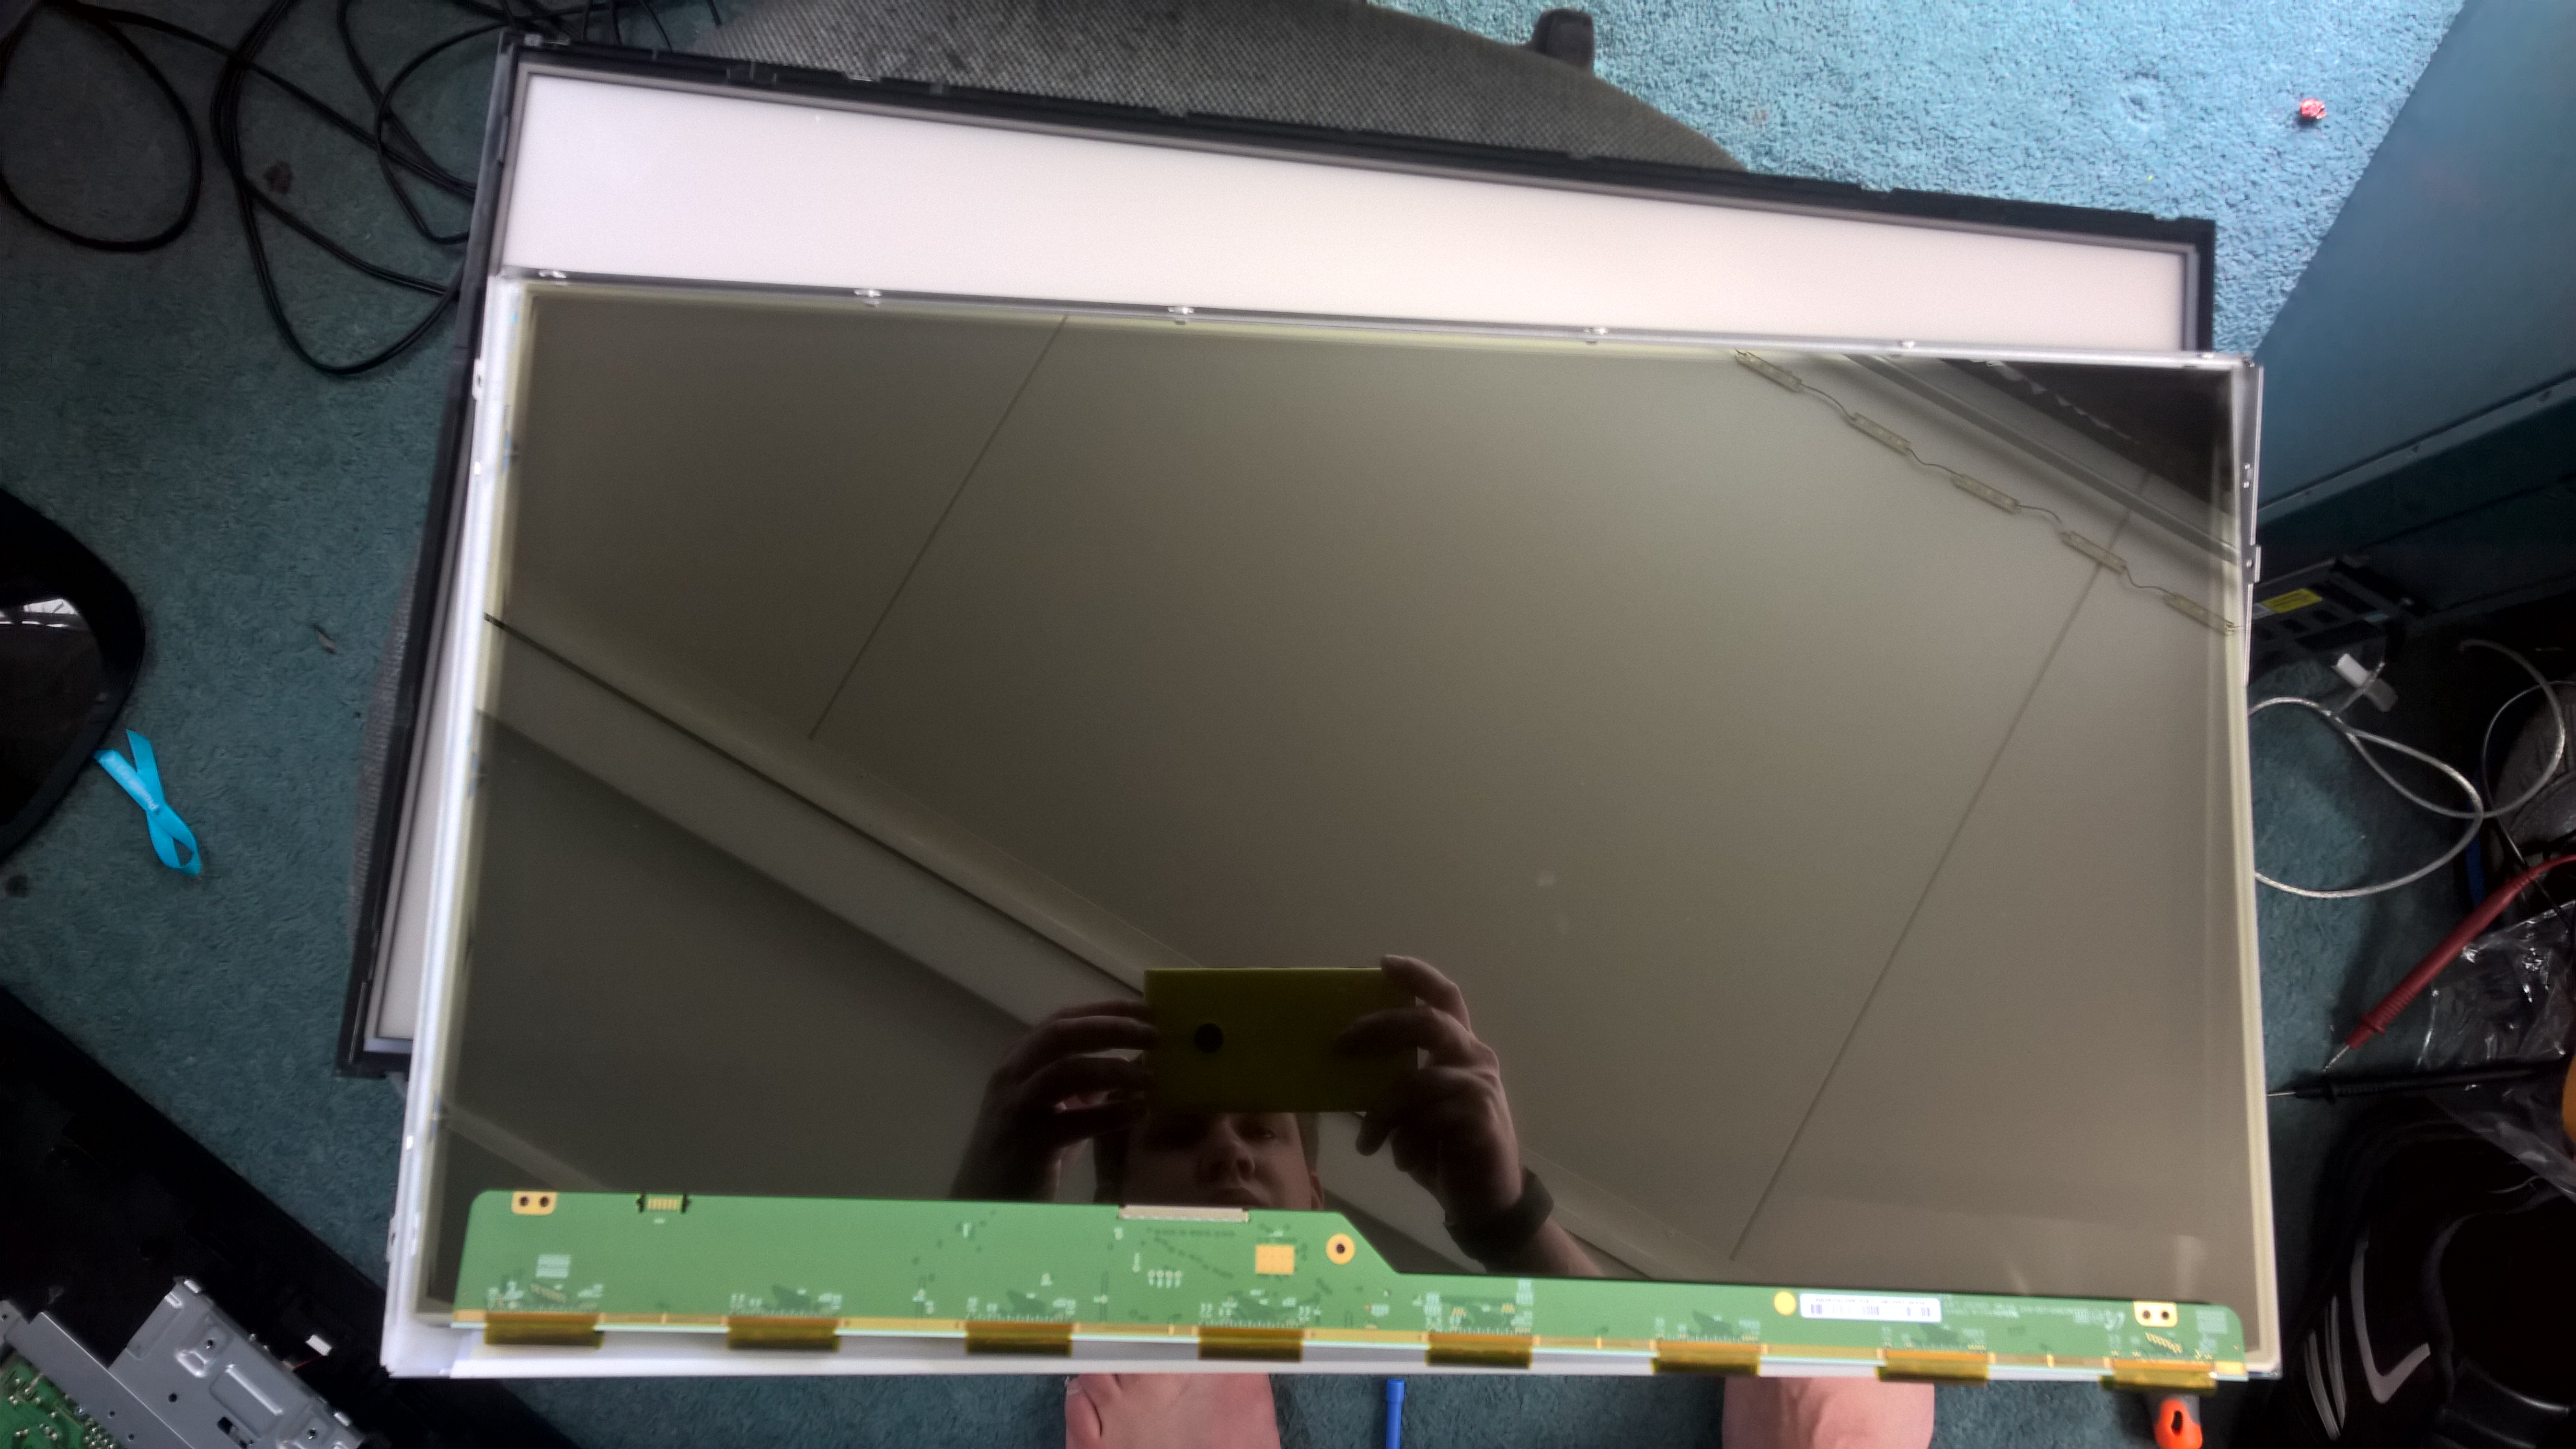
Now we need to remove the Frame that holds the LCD to the backlight.
There is a few clips around the outside which you will need to release, work along the edge opposite the one with the electronics.
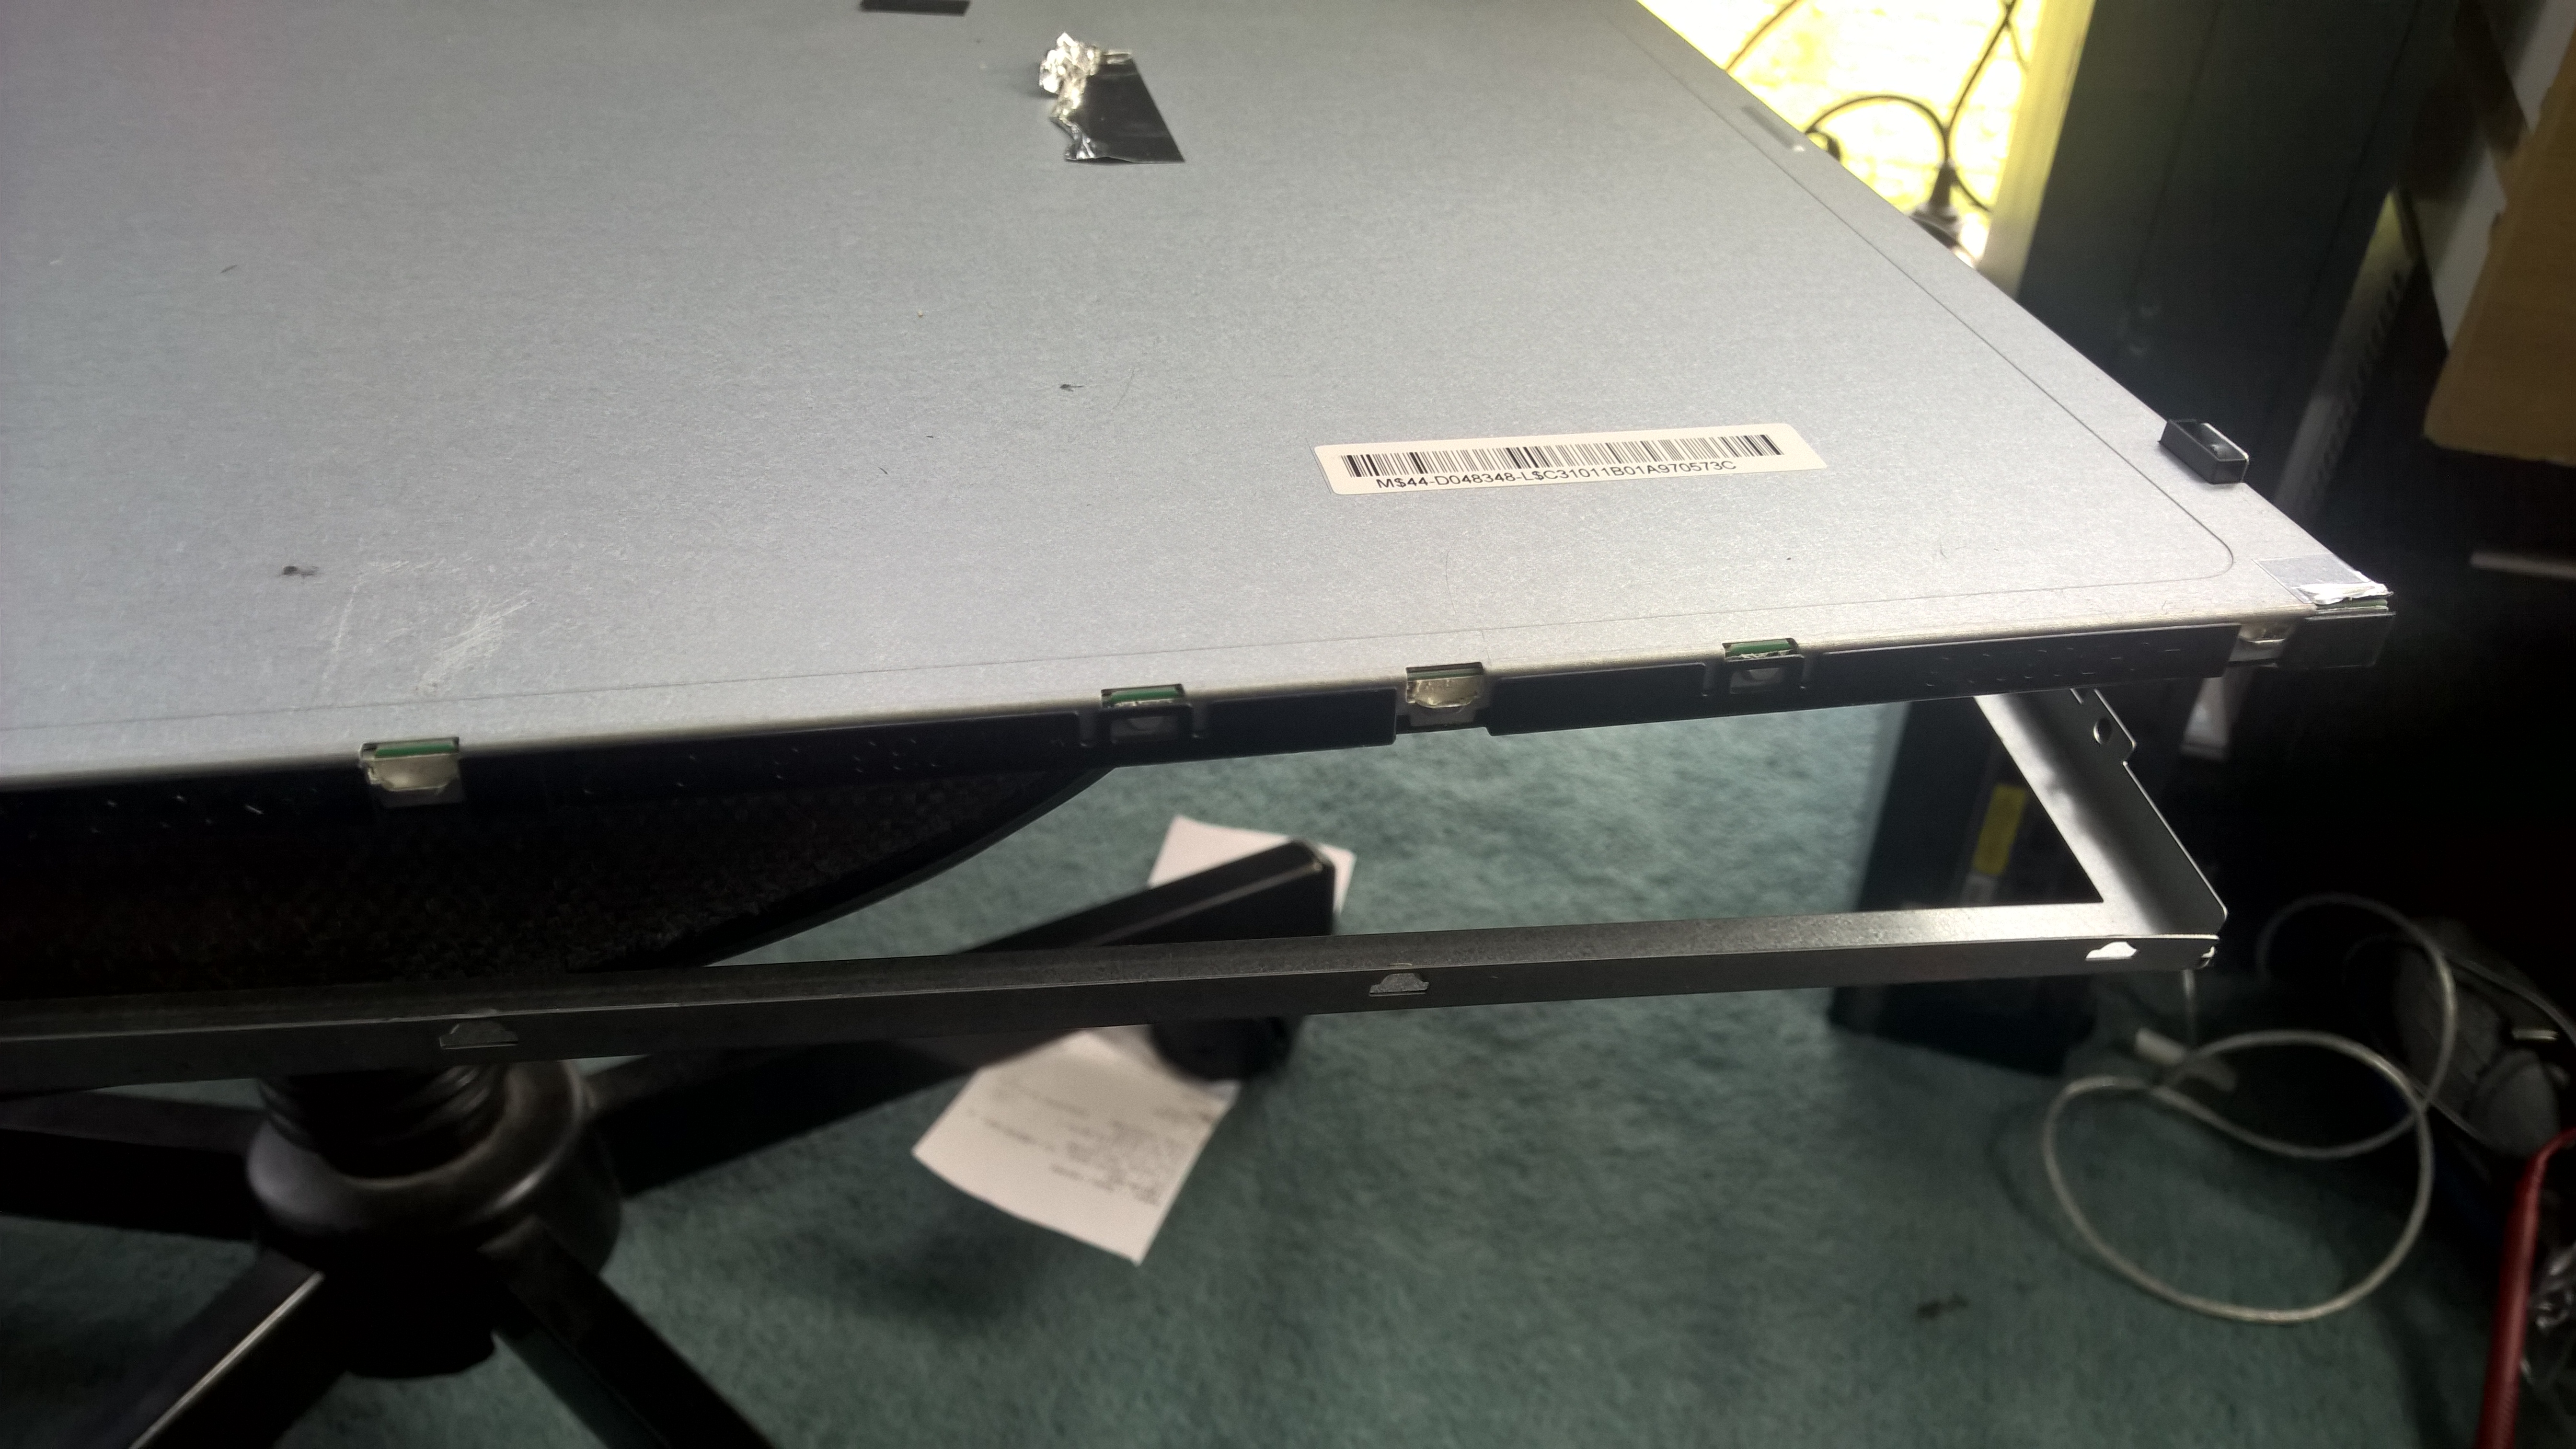
Once it is Lose, holding the panel carefully flip it over. - The LCD is Now lose and you can remove it putting it is a safe place.
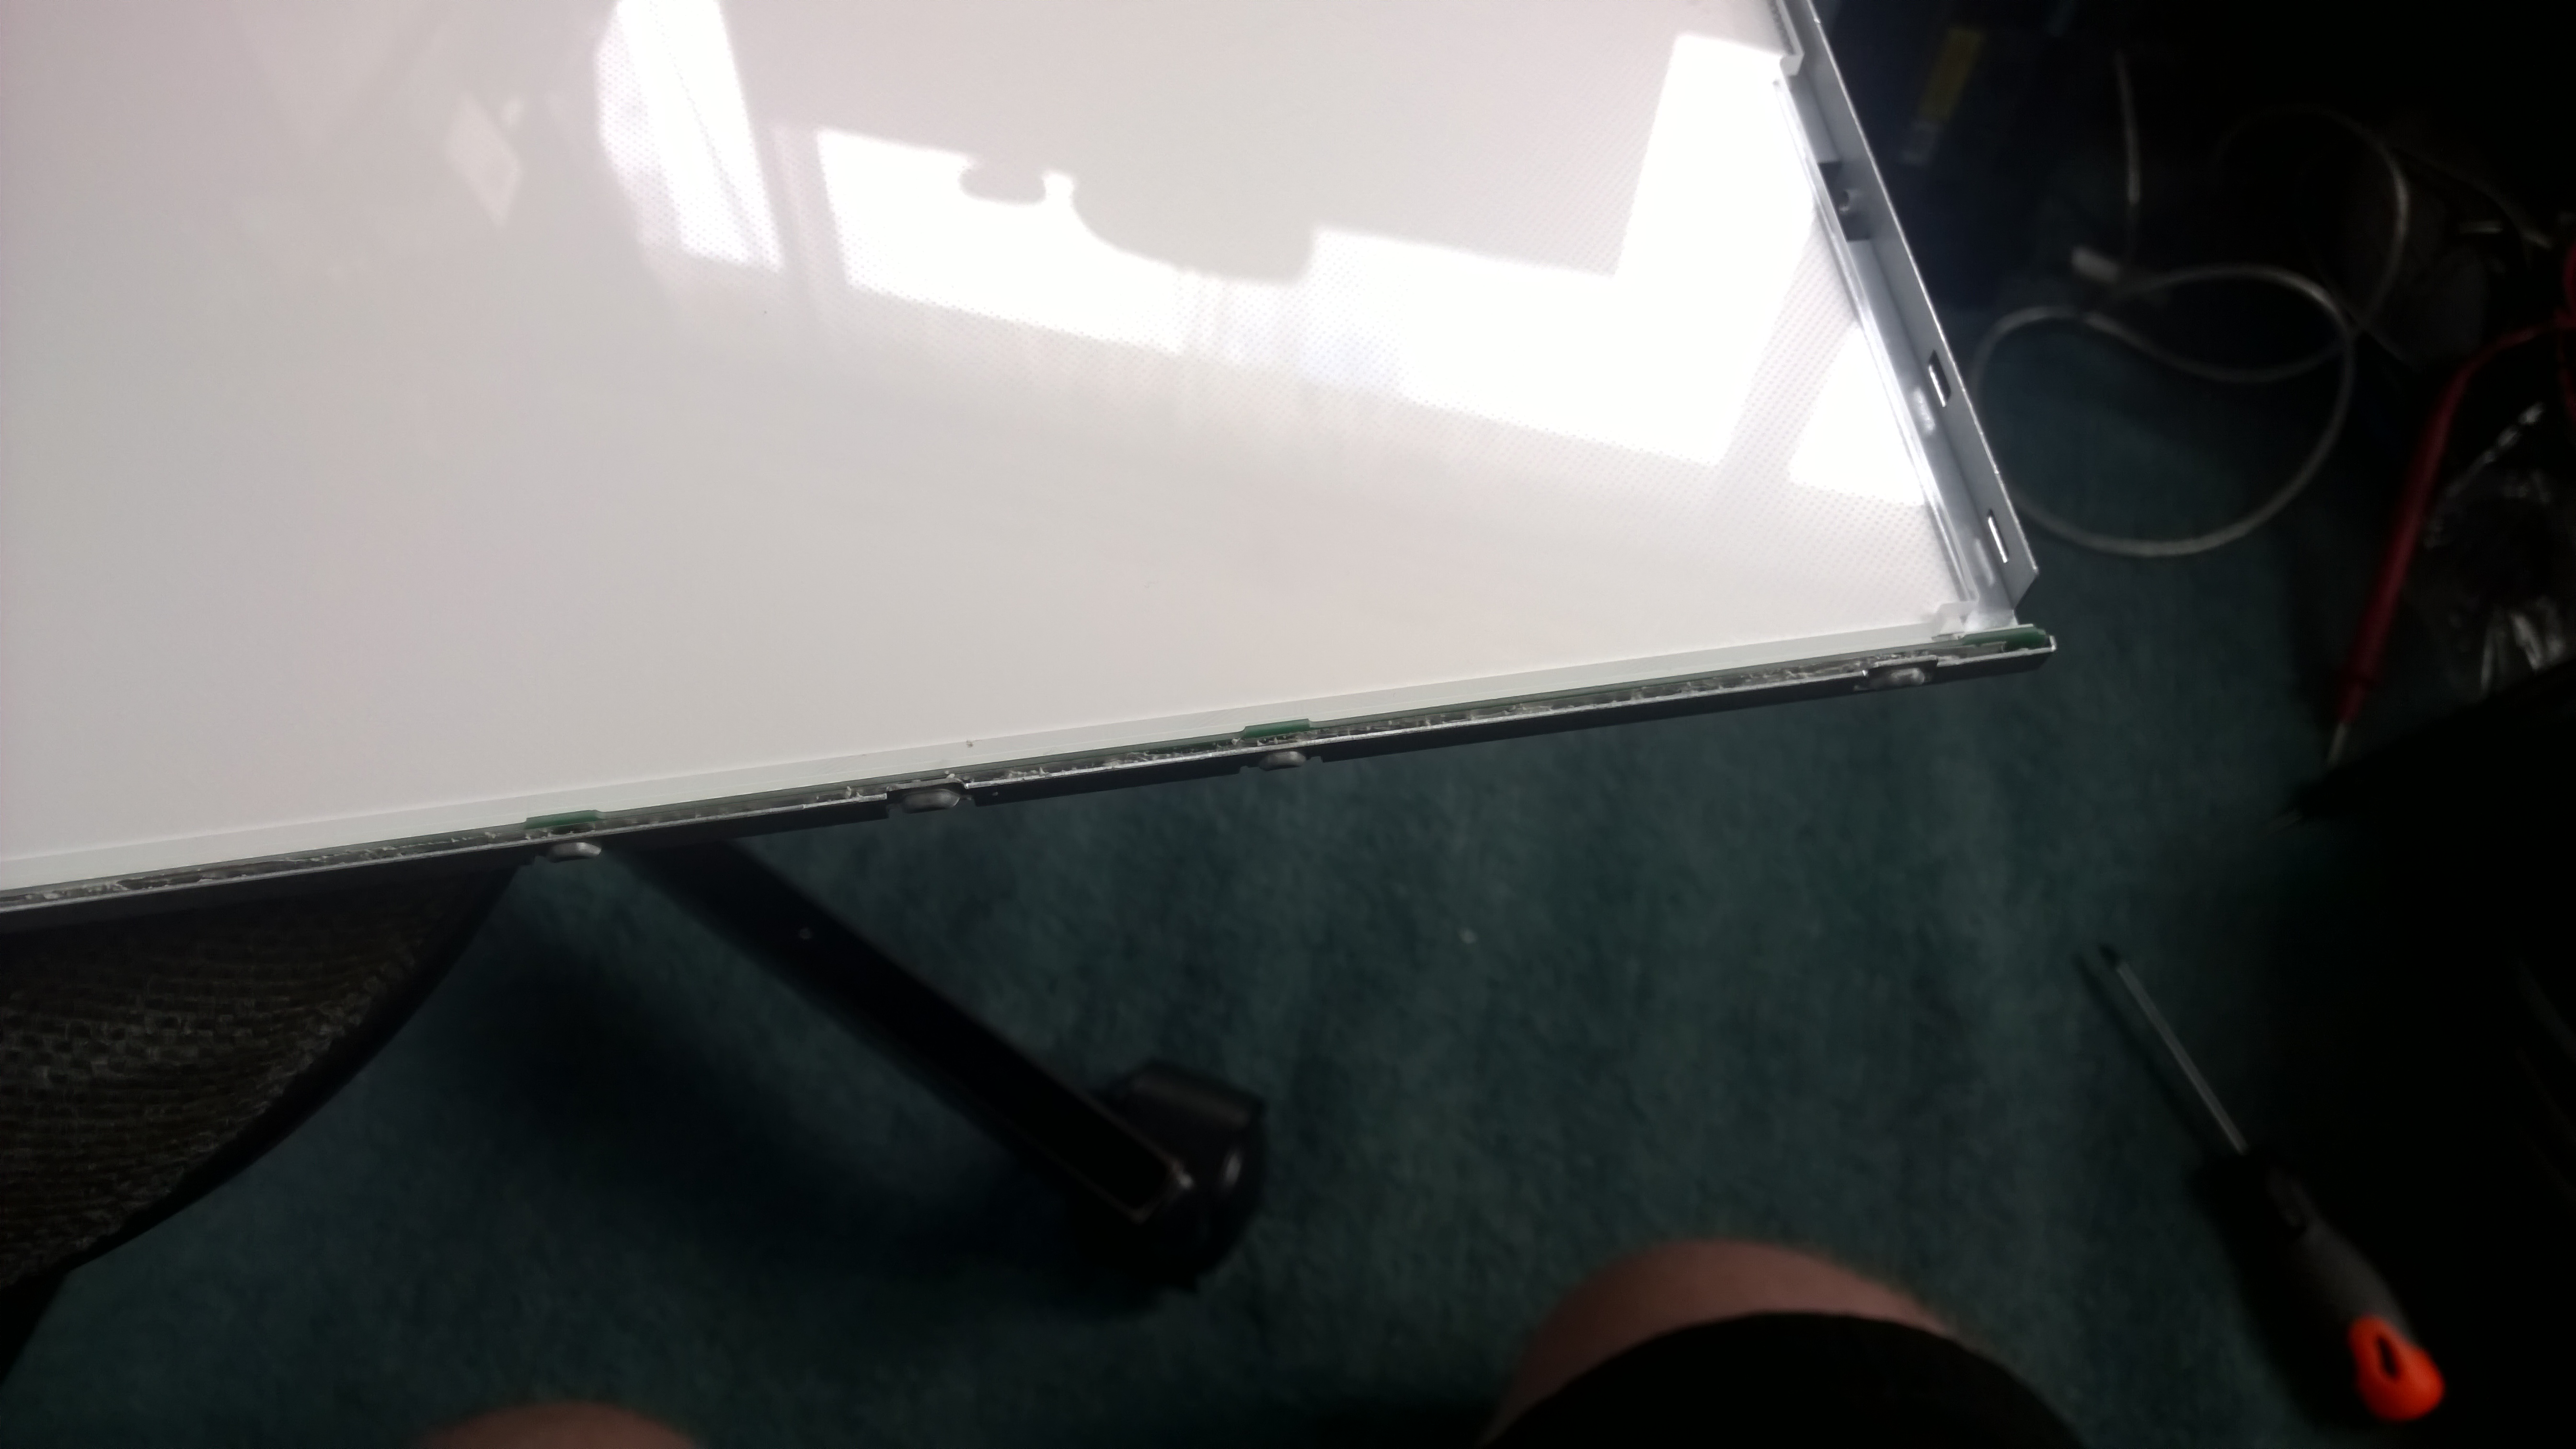
This just leaves you with the back-light and diffuse.
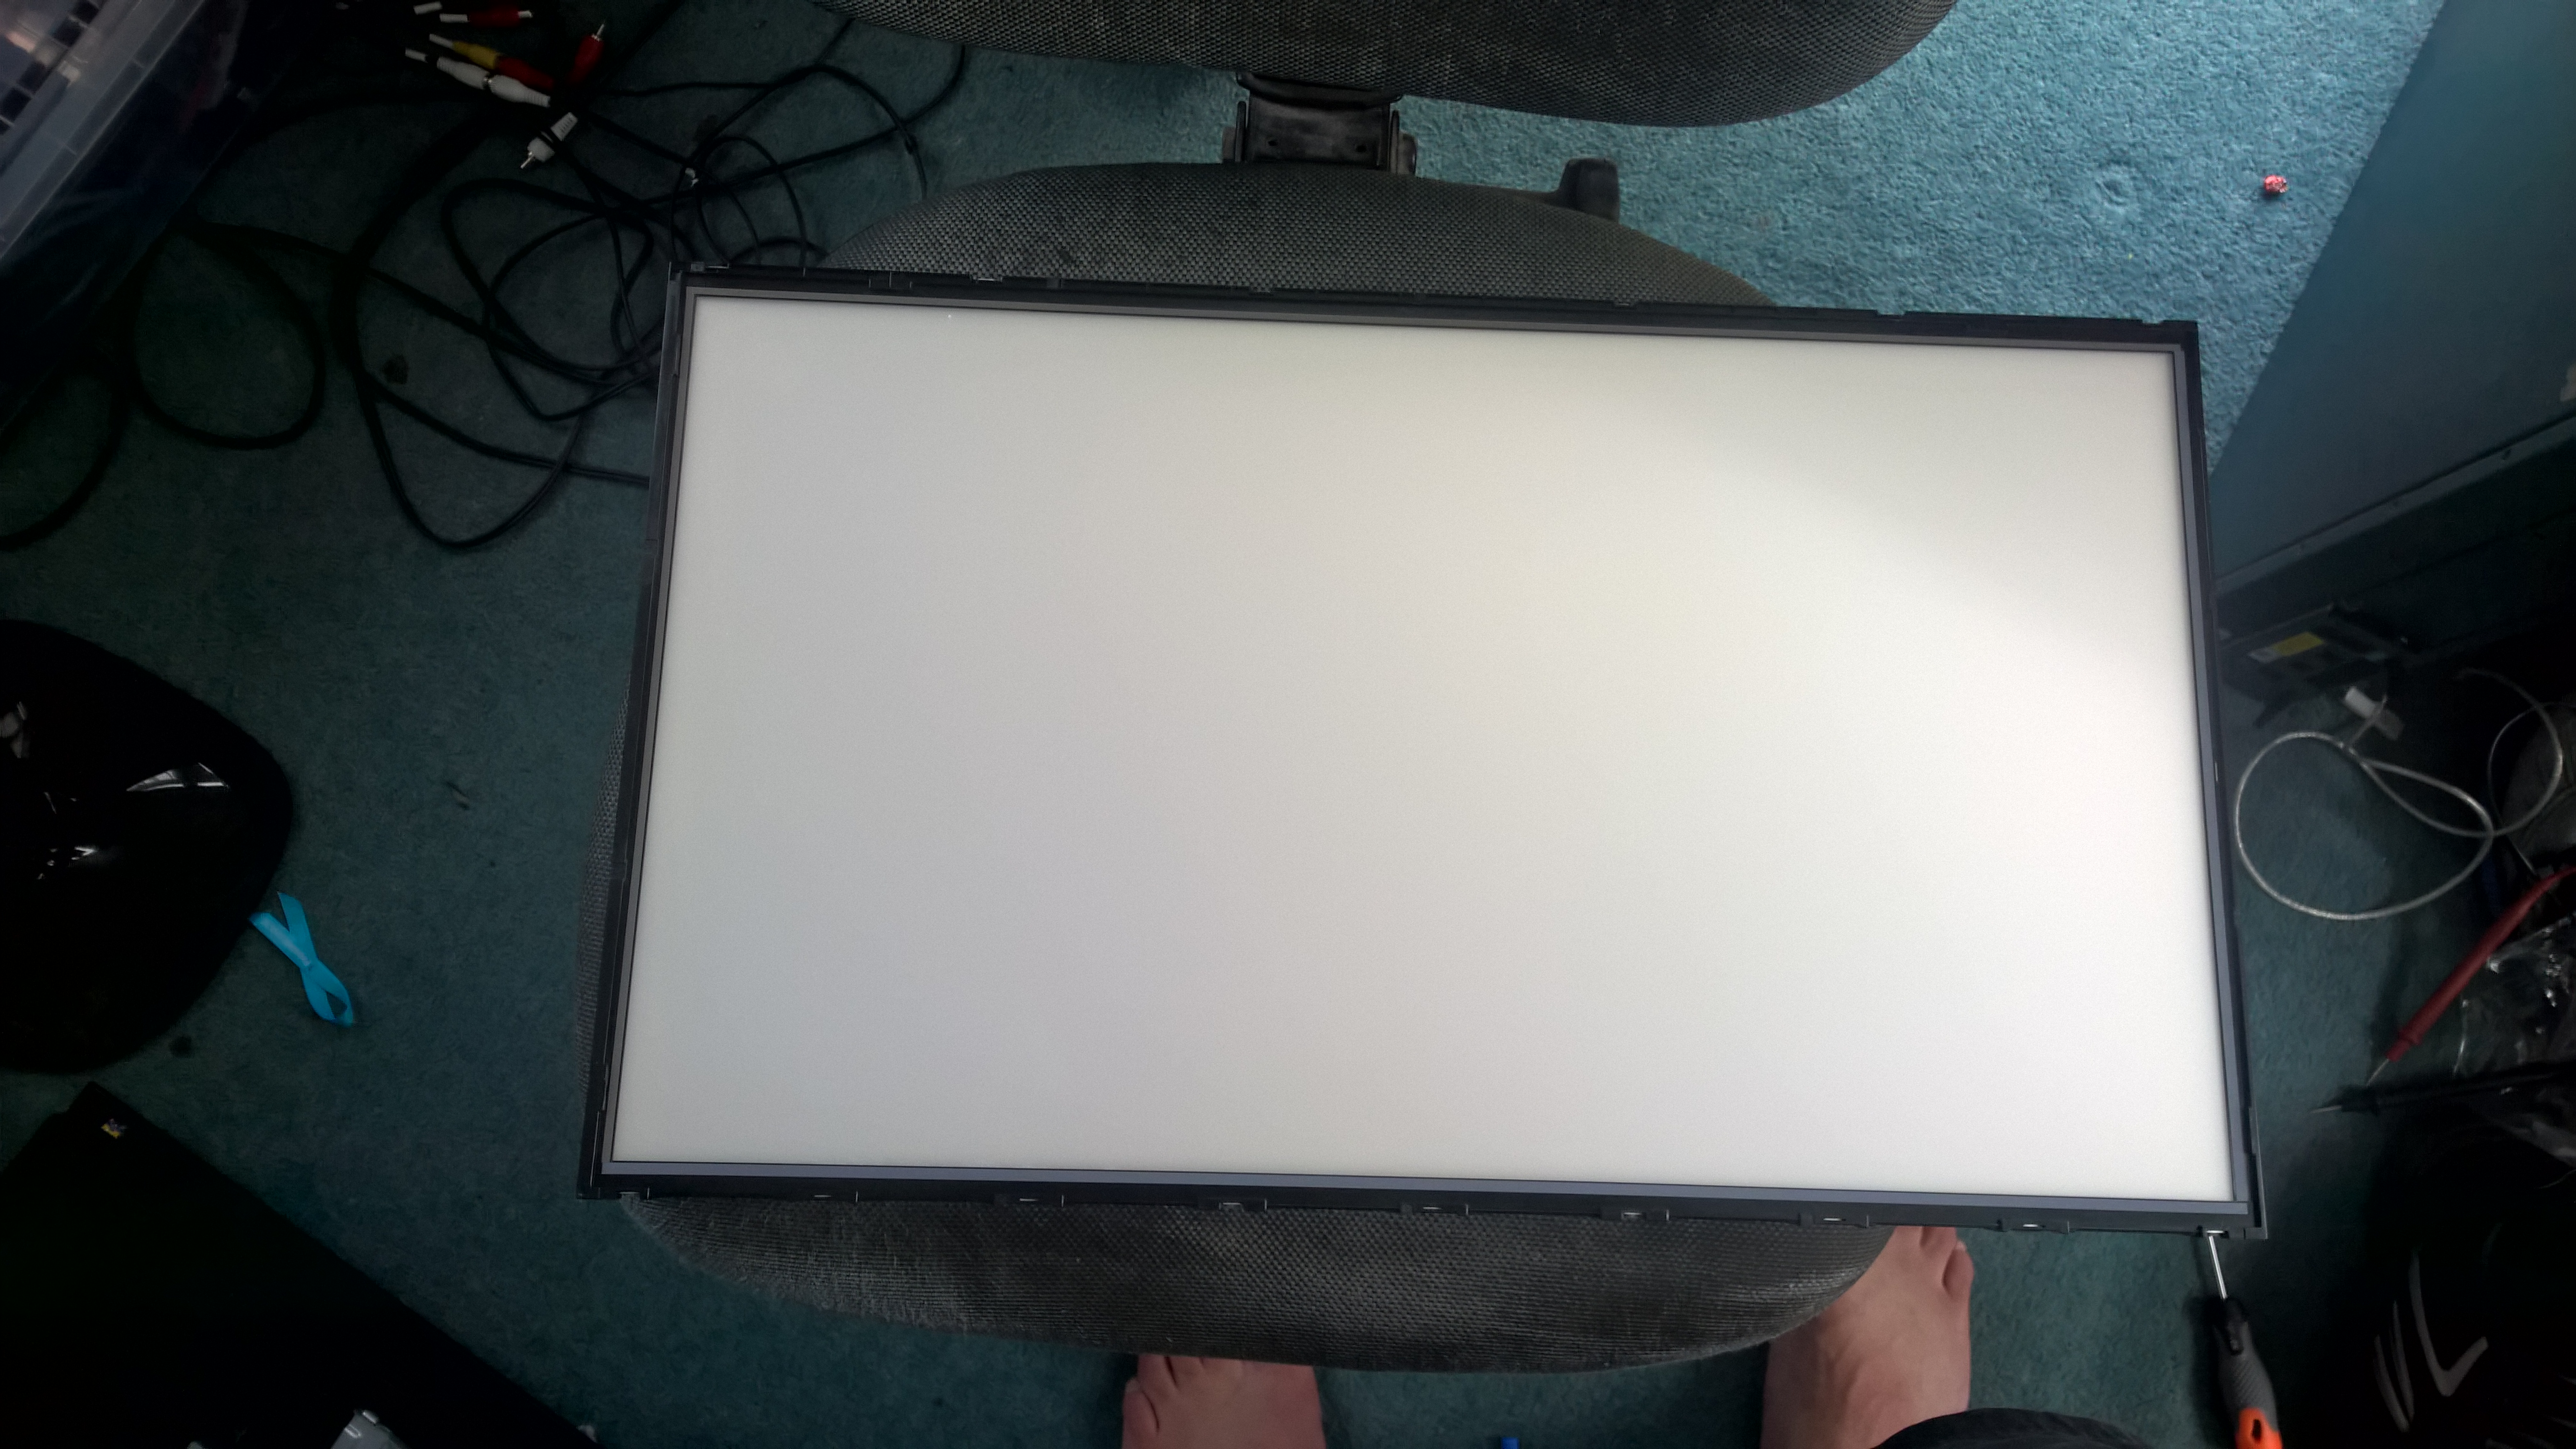
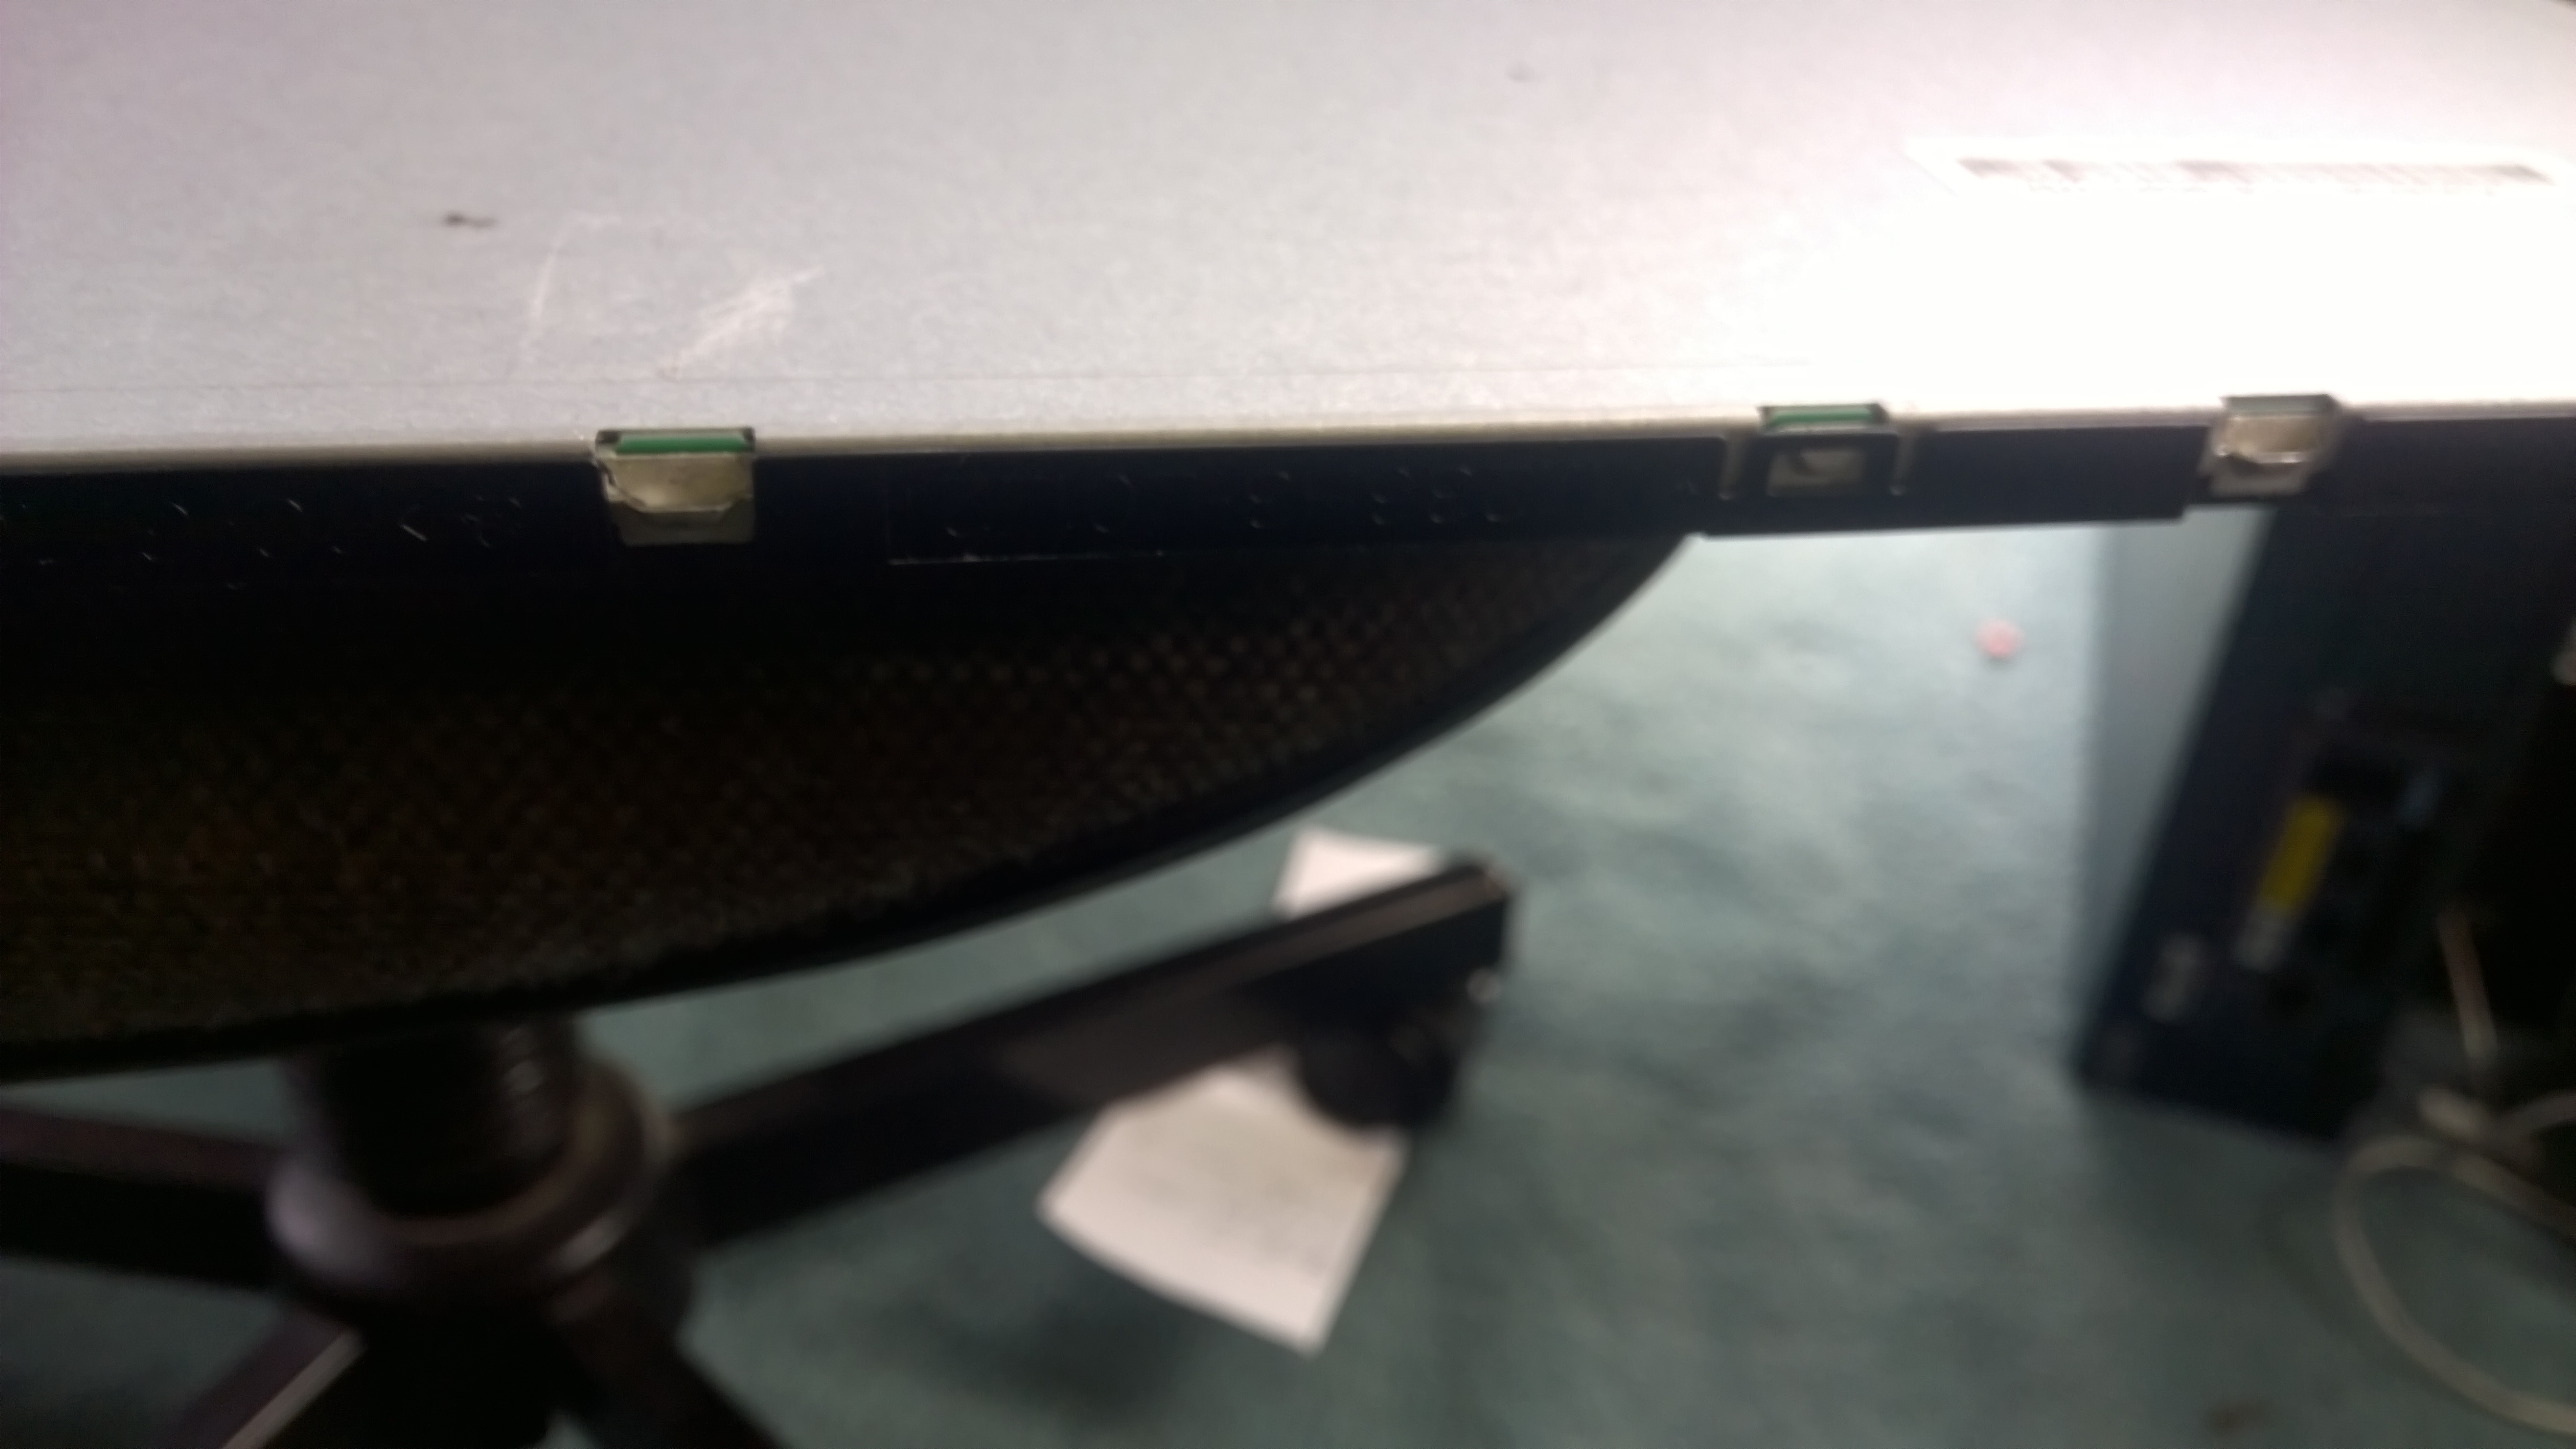
Now to get at the LEDs we need to remove the Black Frame. Just black clips holding it to the frame.
Please not there is a Piece of Glass also in this bit under 3 layer of plastic sheets that try and evenly defuse the Light across the whole screen.

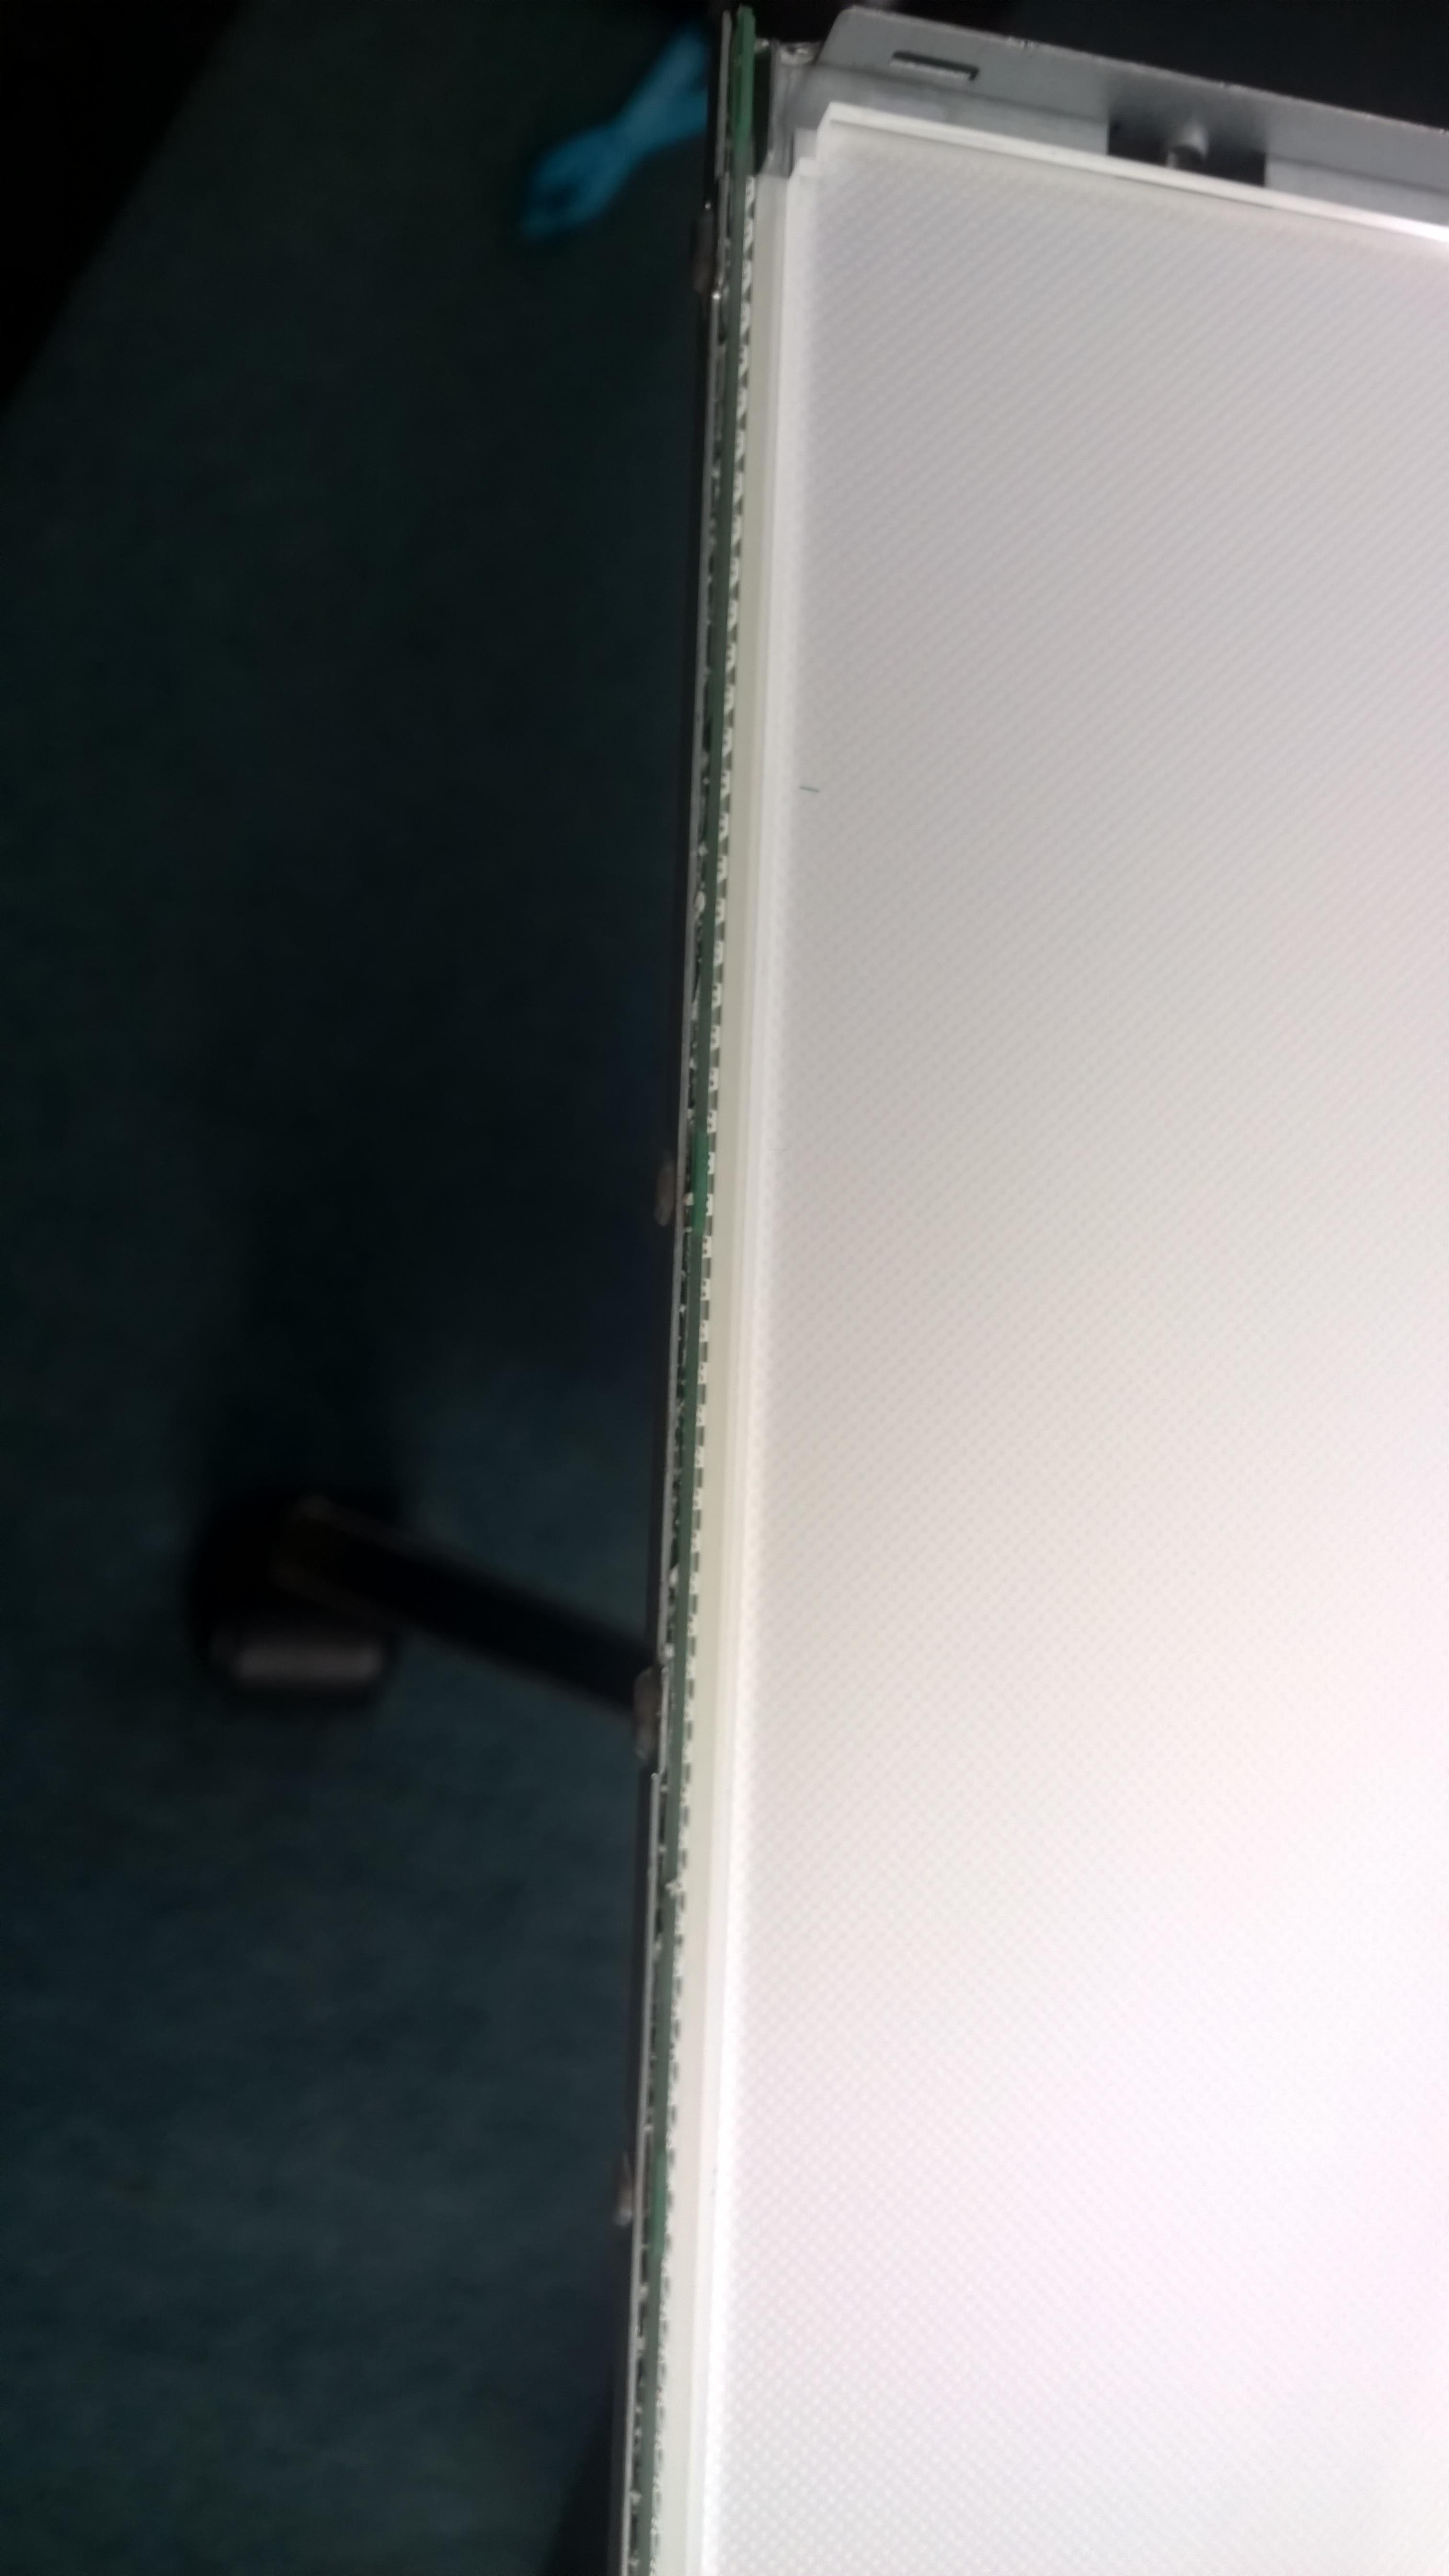
Now the LED strip is accessible - this is truck down with some strong adhesive tape.
Took several goes with the running the pry tool down the whole strip to get it to come away from the case/frame
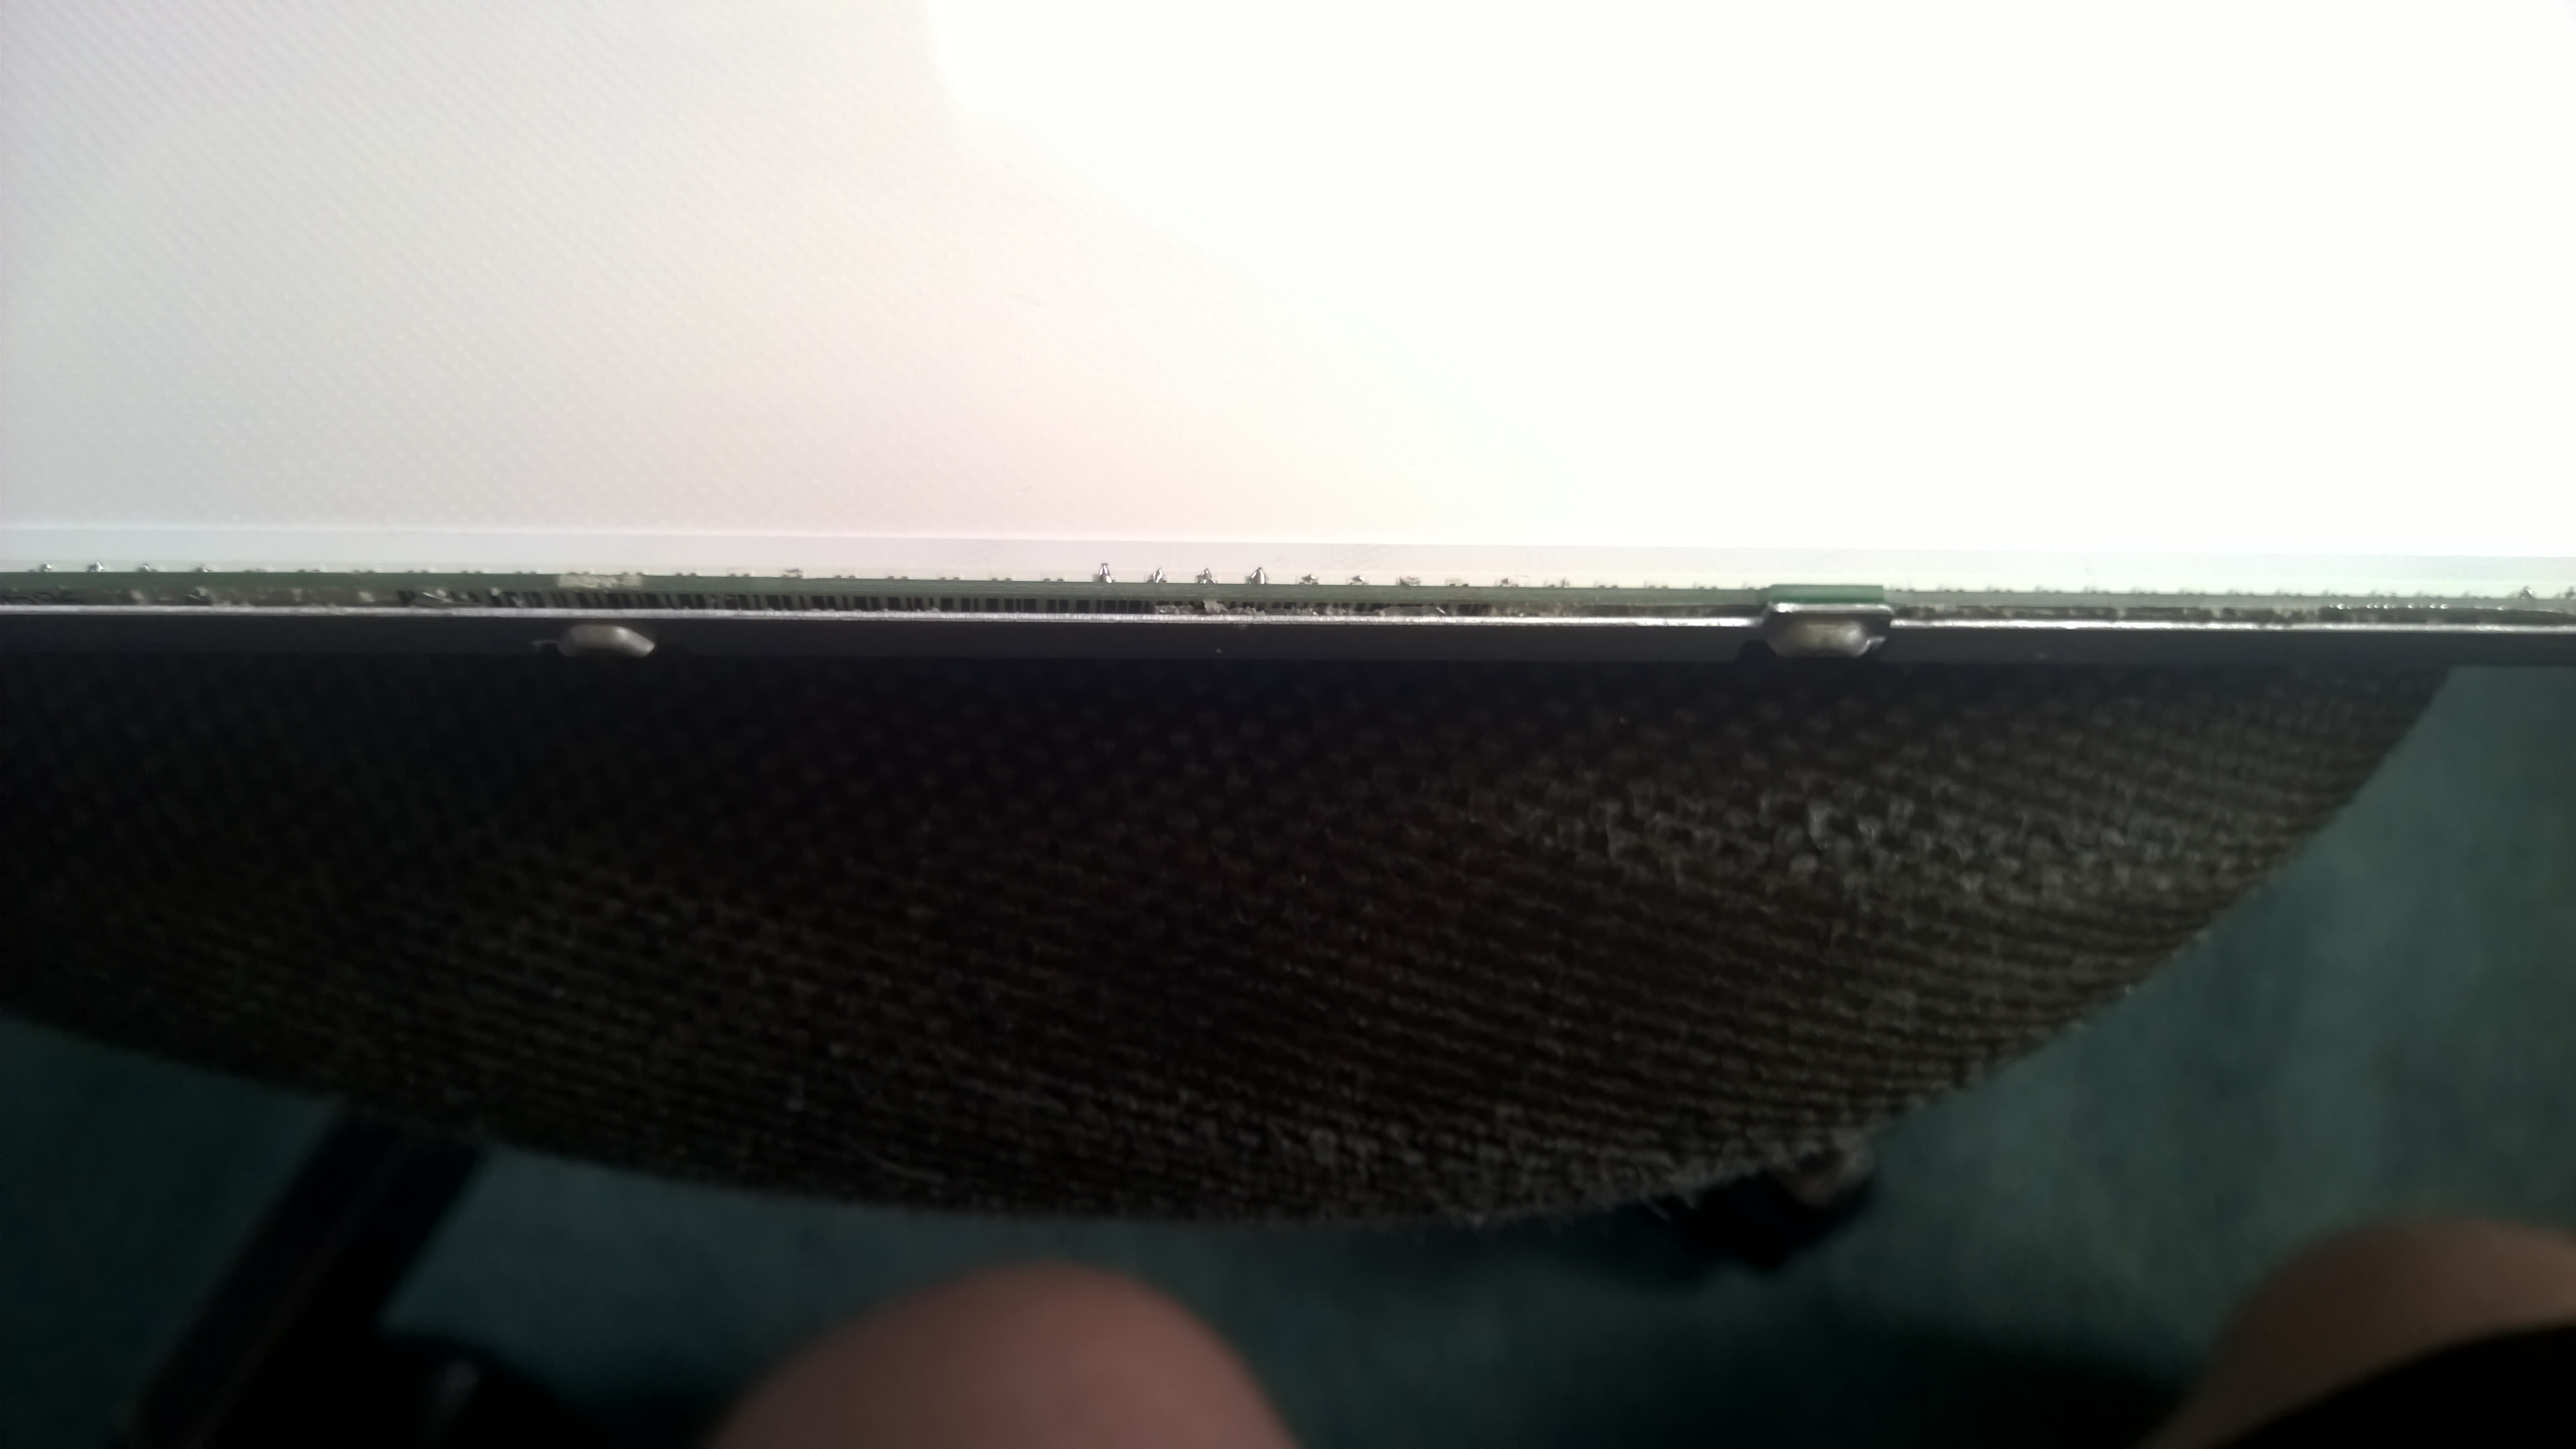
Now you can remove it and start re-soldering/re-flowing the LEDs, I just used a Soldering iron with a flat tip and touched each LED on each end.
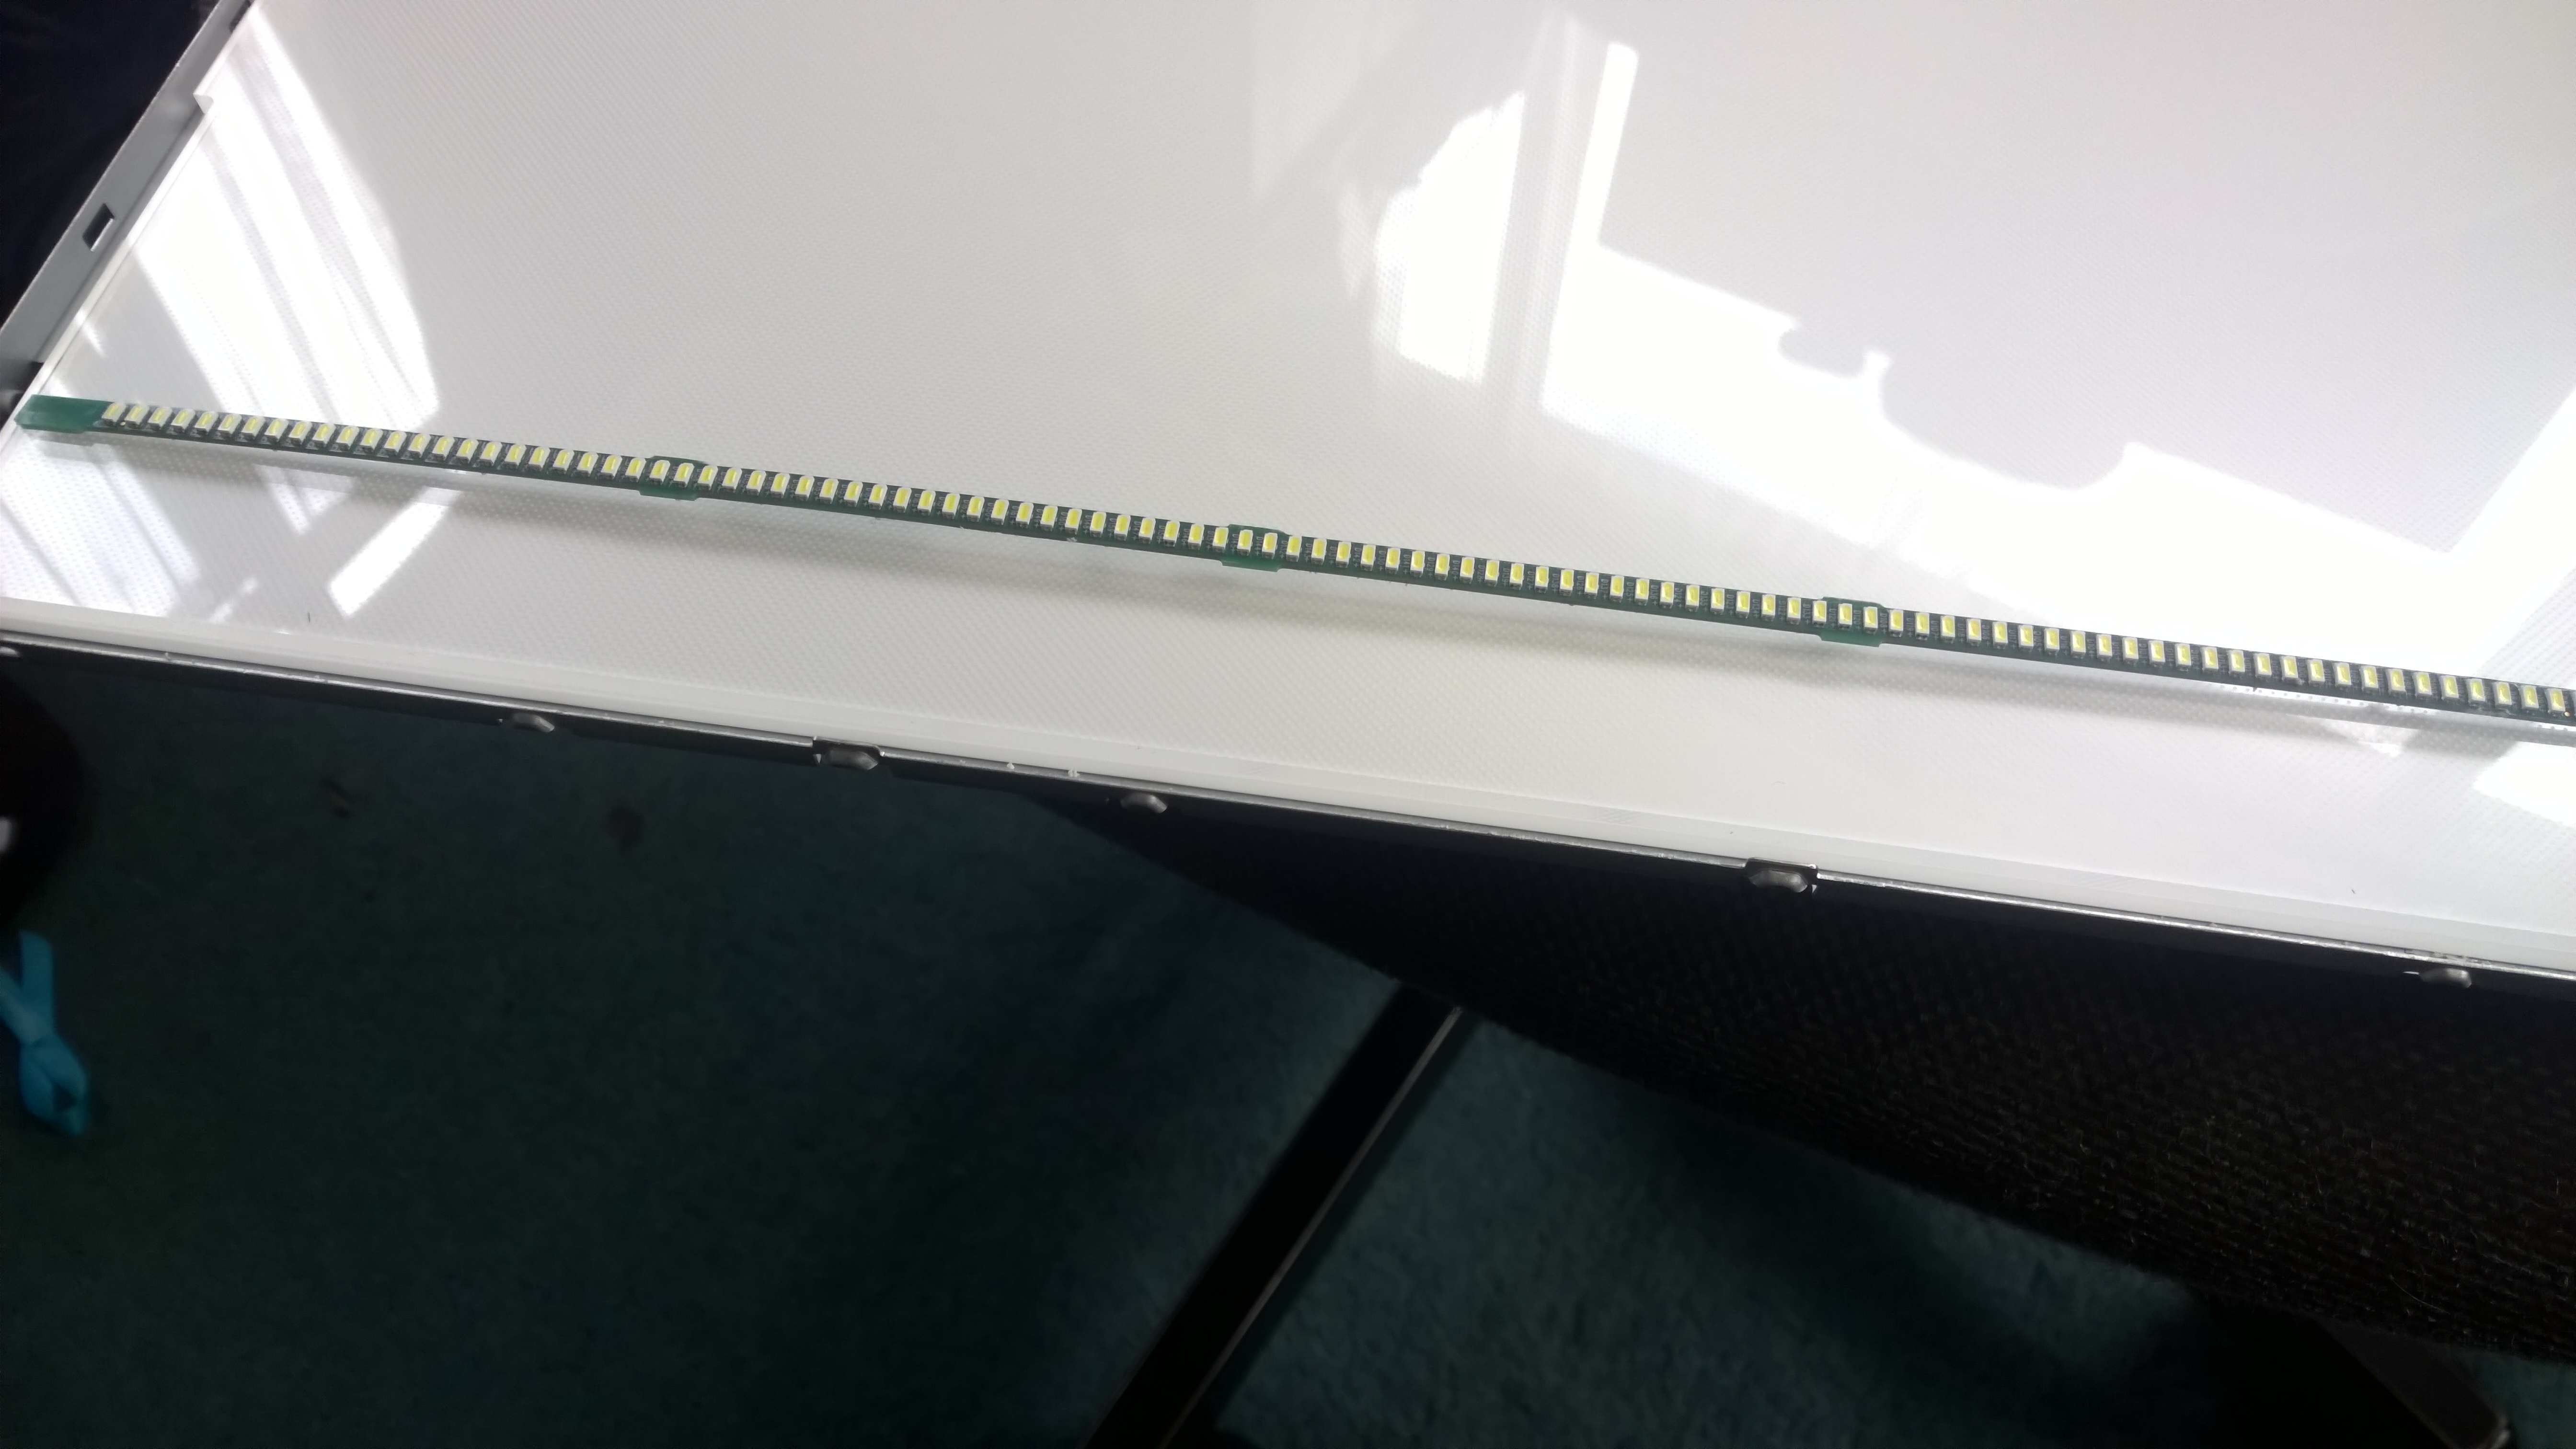
My dopey Soldering
Now you can reassemble it in reverse order and she home much success or failure occurred.
In my case I still have small spot in the middle, but better that having half the screen dim.